WEEK
TWO
Computer Aided Design
Task for this week
Model (raster, vector, 2D, 3D, render, animate, simulate, ...) a possible final project, Compress your images and videos and post a description with your design files on your class page.Raster Vs Vector
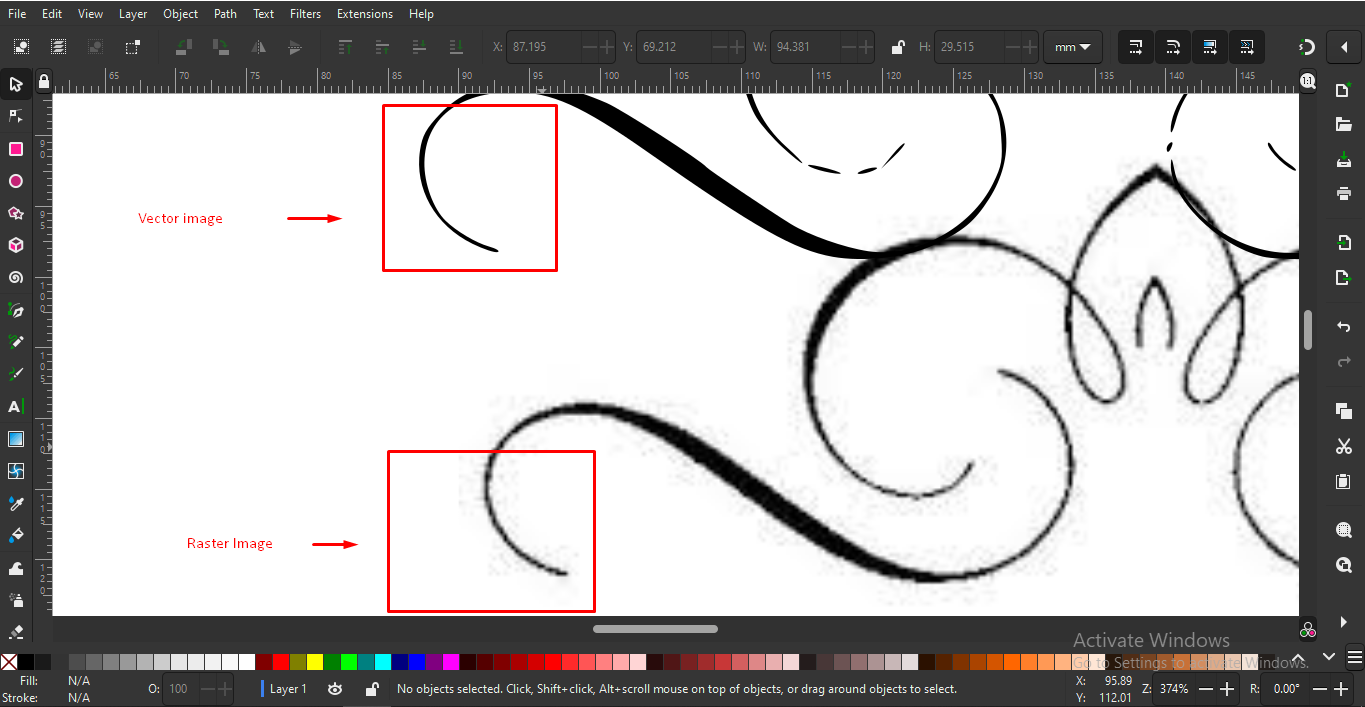
• Manily tha raster s/w or raster image are depend on pixles but in vector, file depend mathematical calculations.
• Raster image resolution and dimension are fixed But in vector image, resolutions and dimension are not fixed.
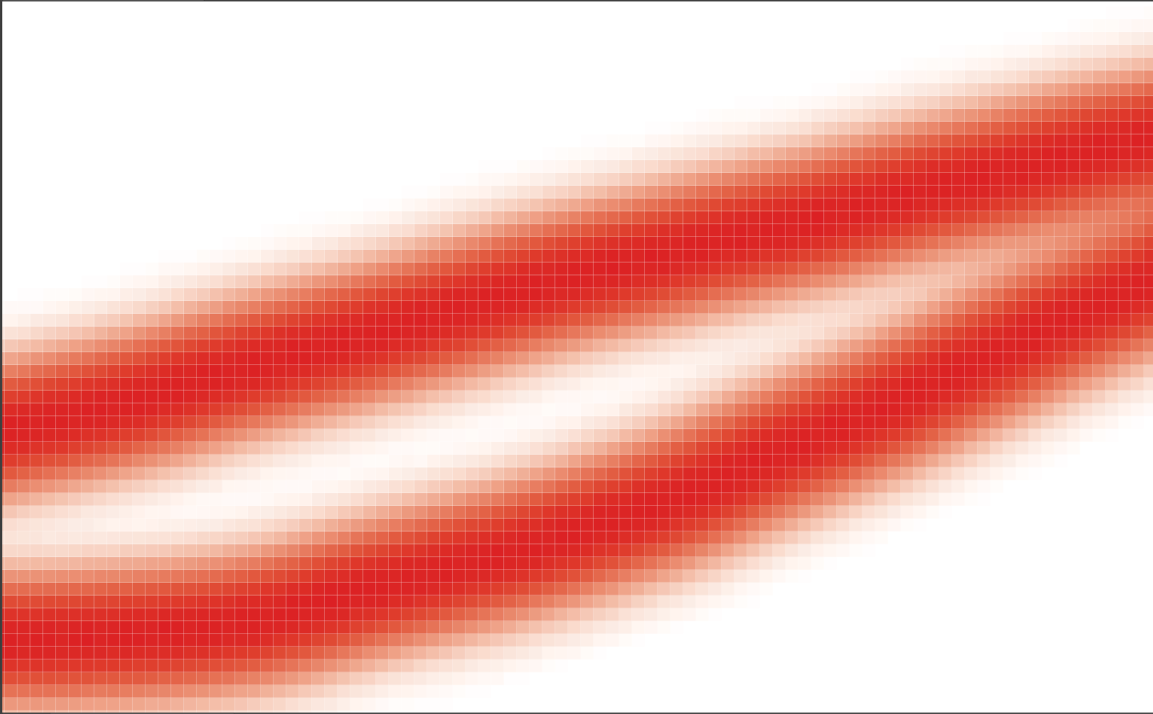
• When we zoom the raster image it shows pixles at the end beacuase it is made up of pixles but in vector image it does not show pixles and maintain the layers or boundries by mathematical calculation.
Photoshop (Raster software)
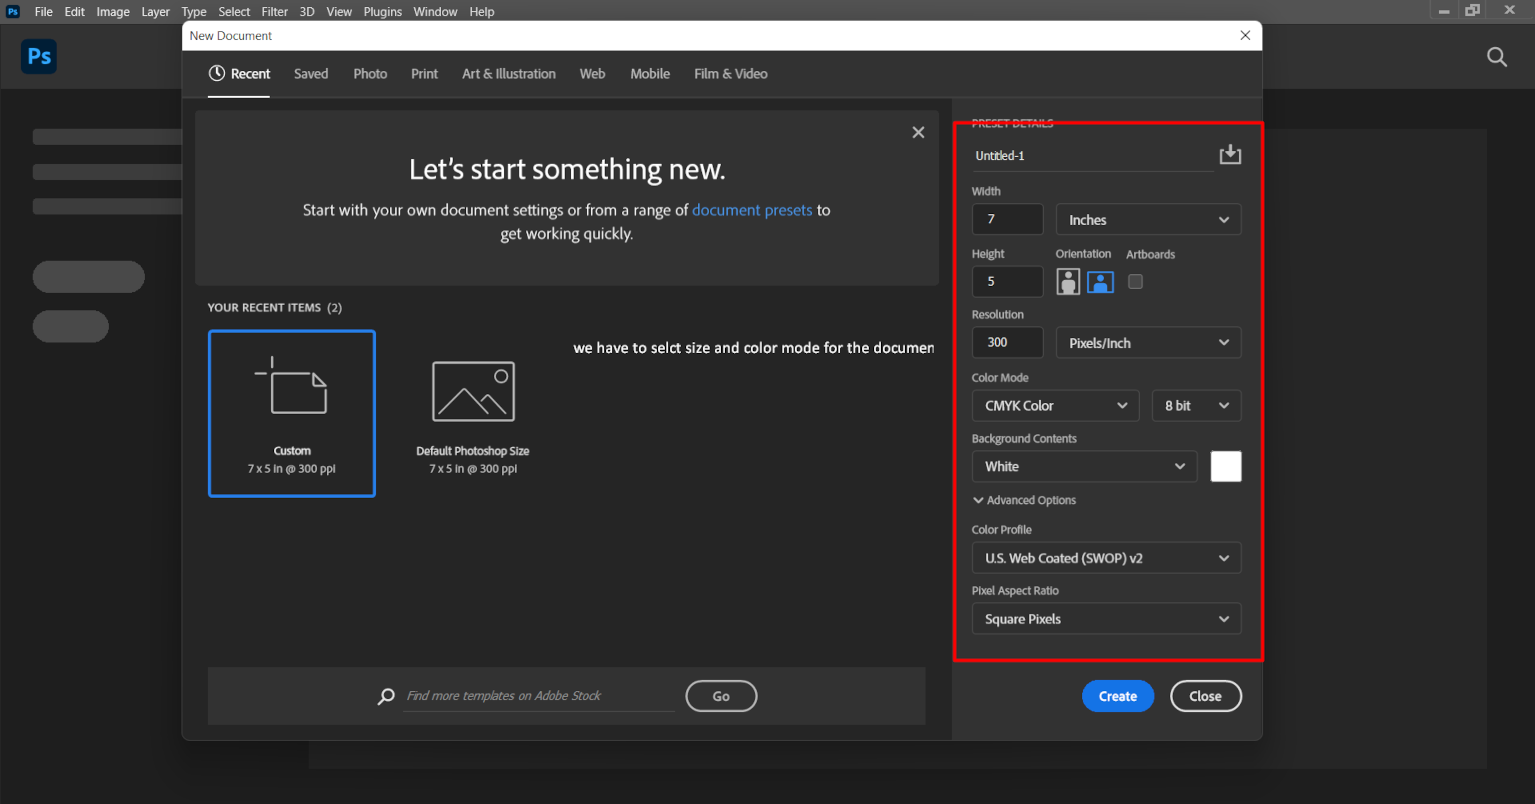
Then I selected the Photoshop and start working with it. When we create a new file, a window occure where we have to mention the size of document,resolution, background content color etc.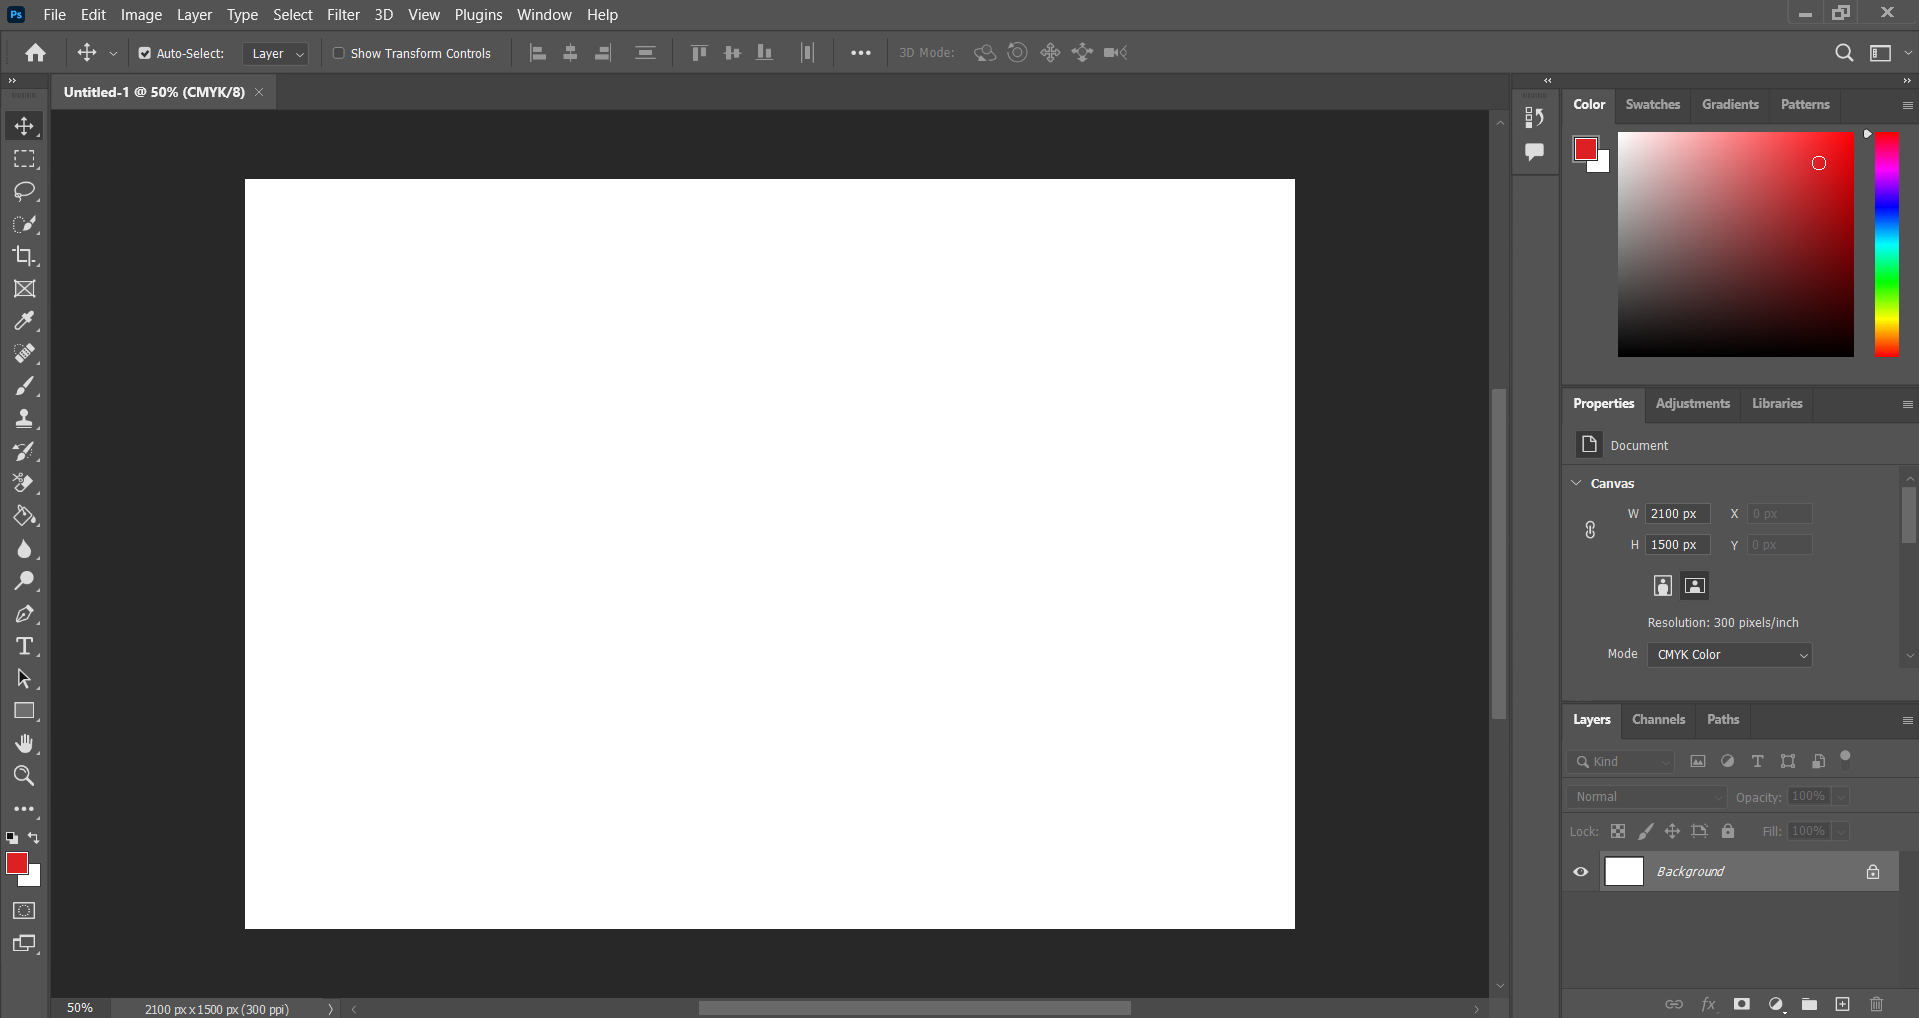
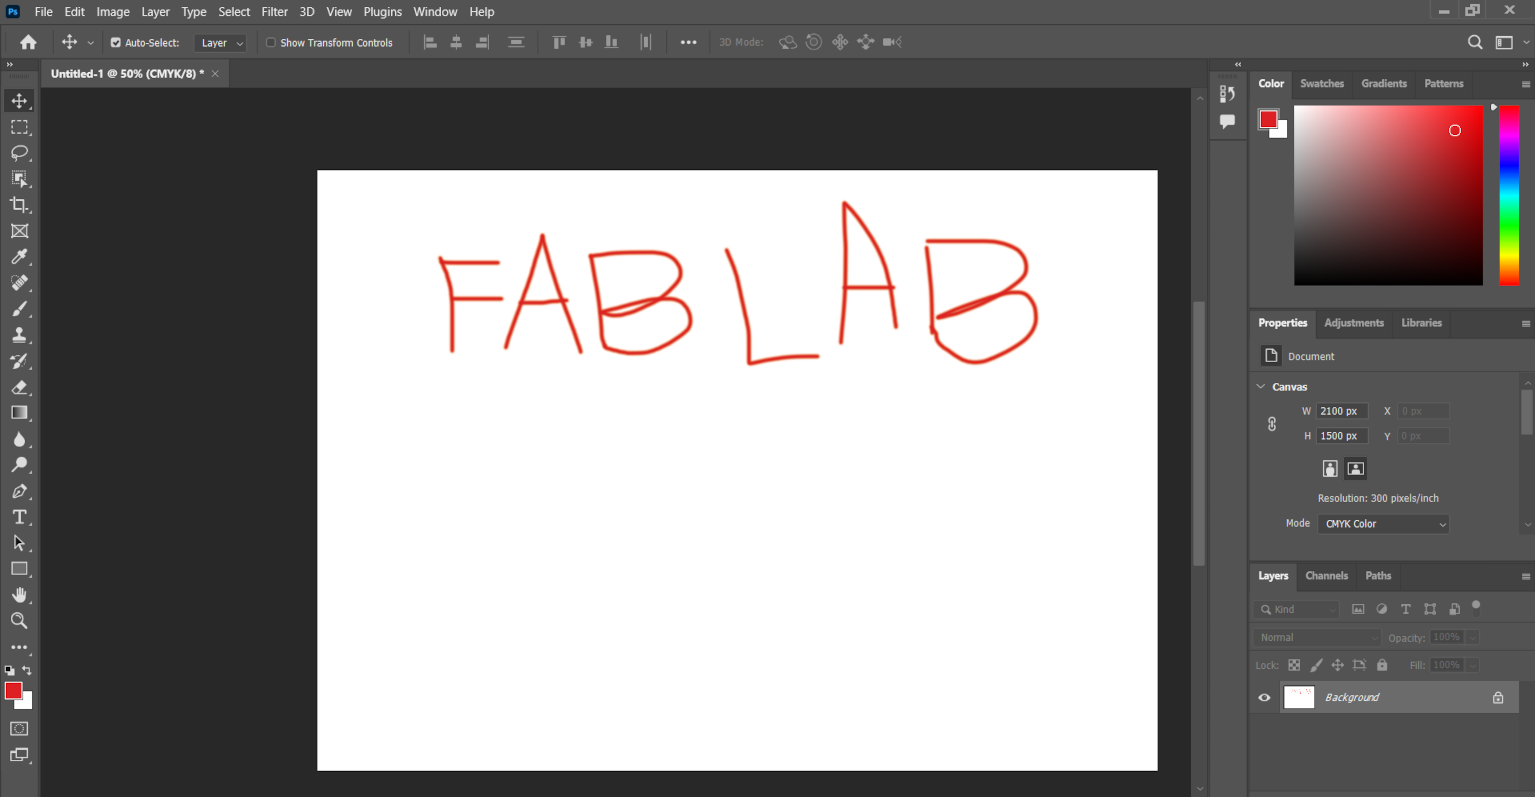
After that a workspace window occured where we have to do work. Firstly I written the Fablab and zoom it and then I clearly seen the raster image Pixels.
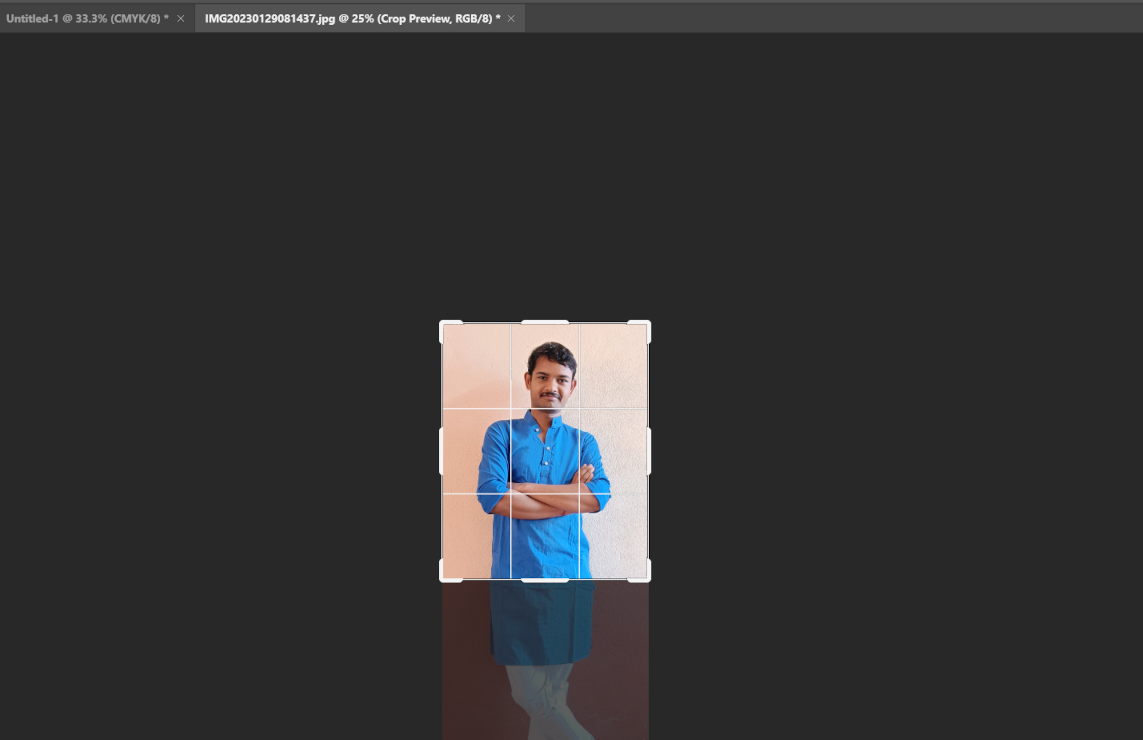
After understanding about the raster I crop my image and chang its background by Photoshop. Firstly select the photo and and open it in Photoshop. Then select crop tool and drage the cursor on the image and select the area you want to keep and remainig will erased.
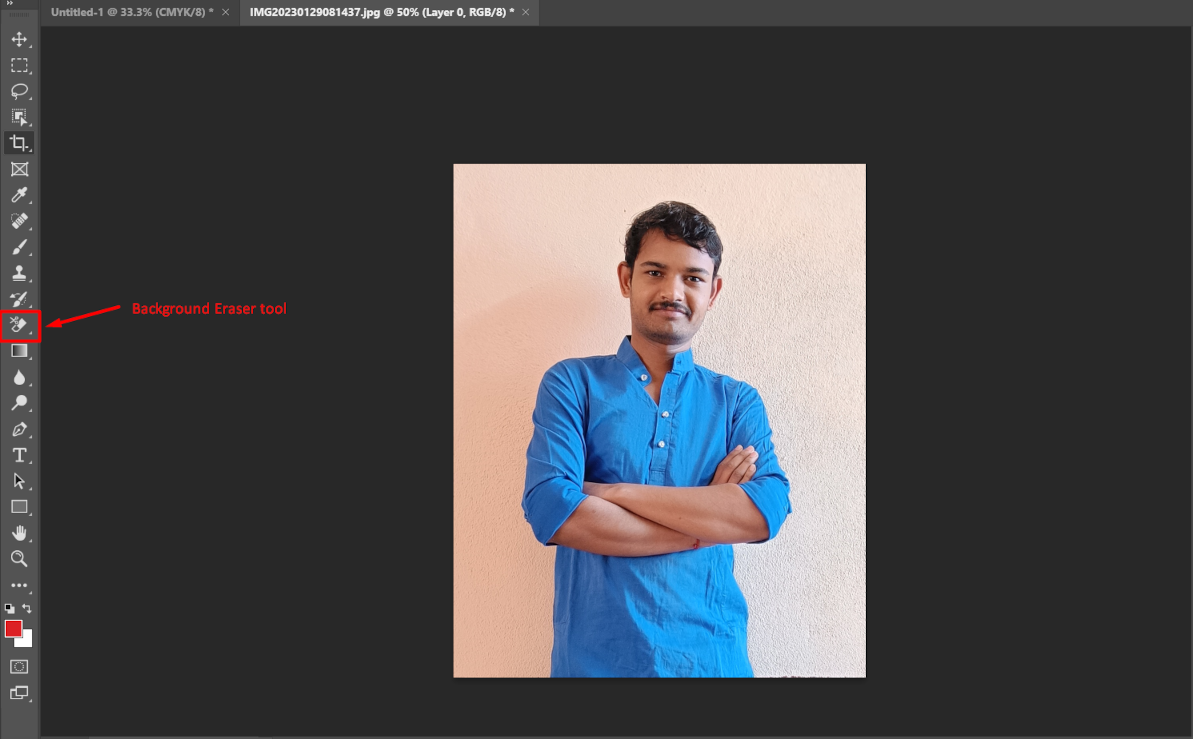
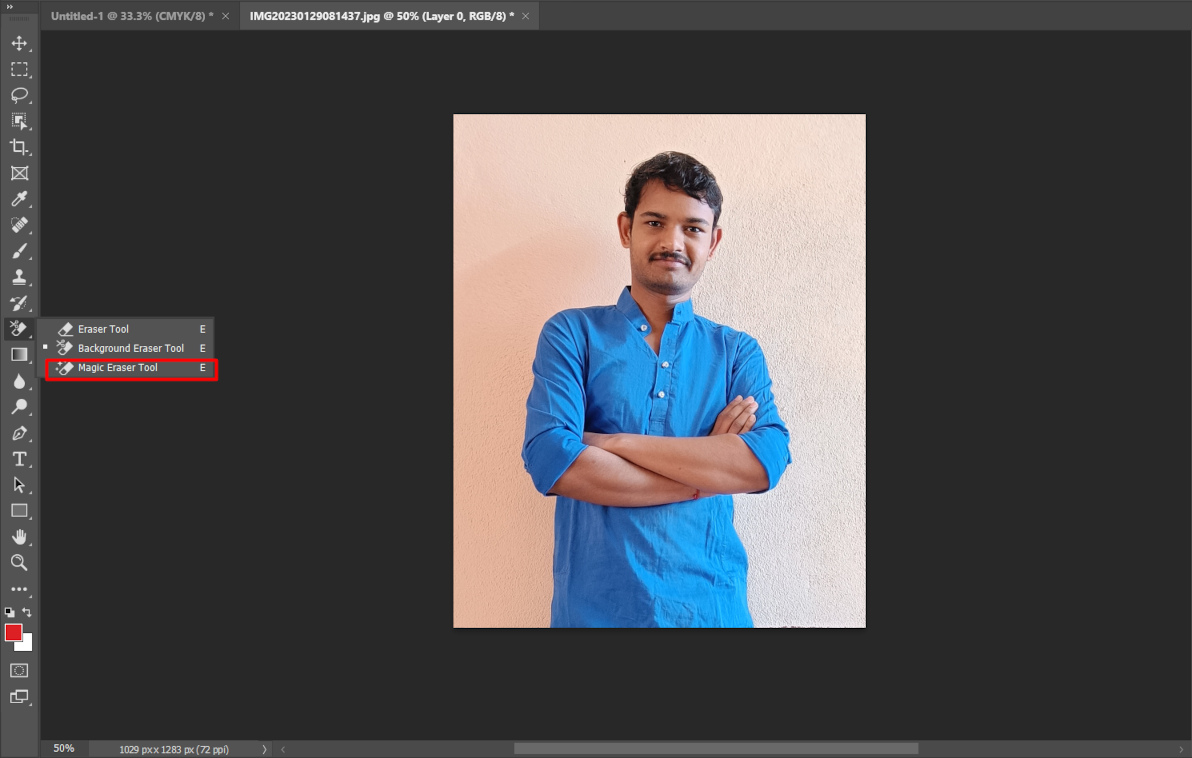
After using crop tool I have to erase the background of my photo, so I choosed erase tool. When I extend it I see three option-
• Erase tool -It deletes everything where we move the cursor .
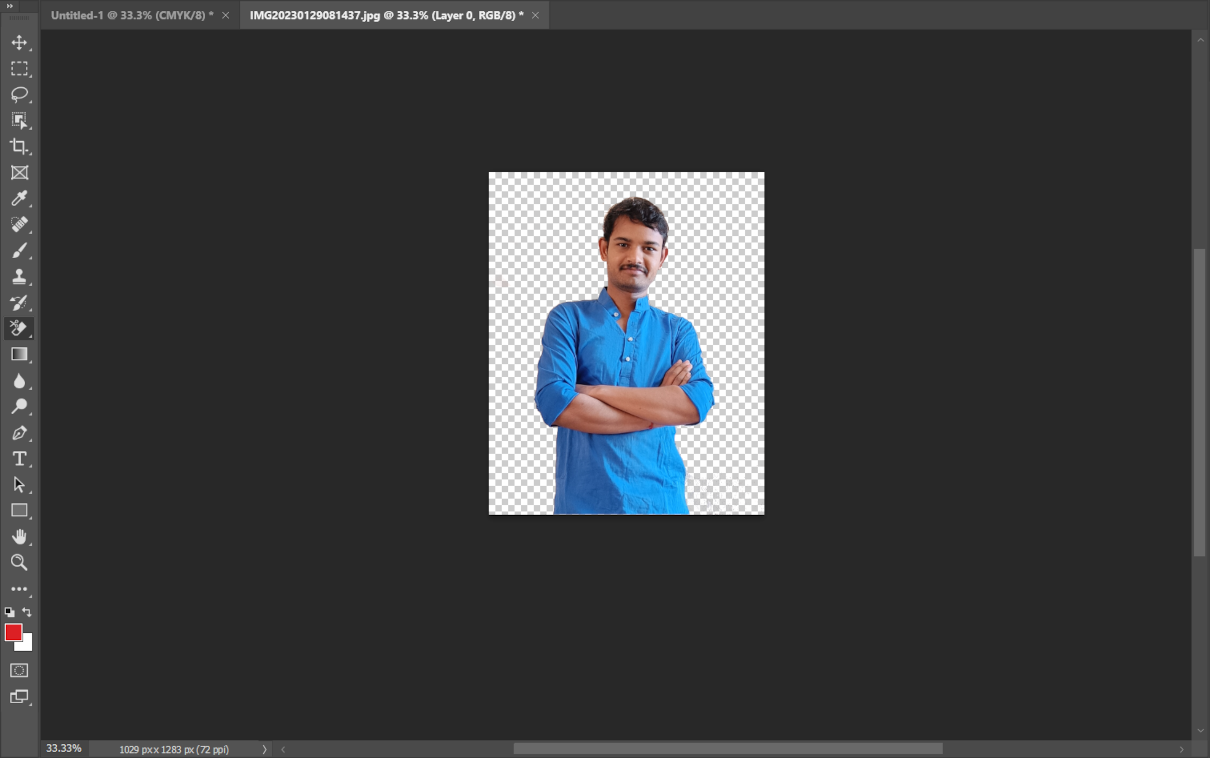
• Background erase tool - It erase the background and our main file remain there.
• Magic erase tool - Automatically detect the background and erase it then after that we have to give some final touch by using background erase tool.
Click here to download the Photoshop software.
Inkscape (Vector software)
After using Photoshop I choose Inkscape to design some poster and try different tool on it. This is the interface of Inkscape here we can draw a vector image or we can make anything in vector formate .
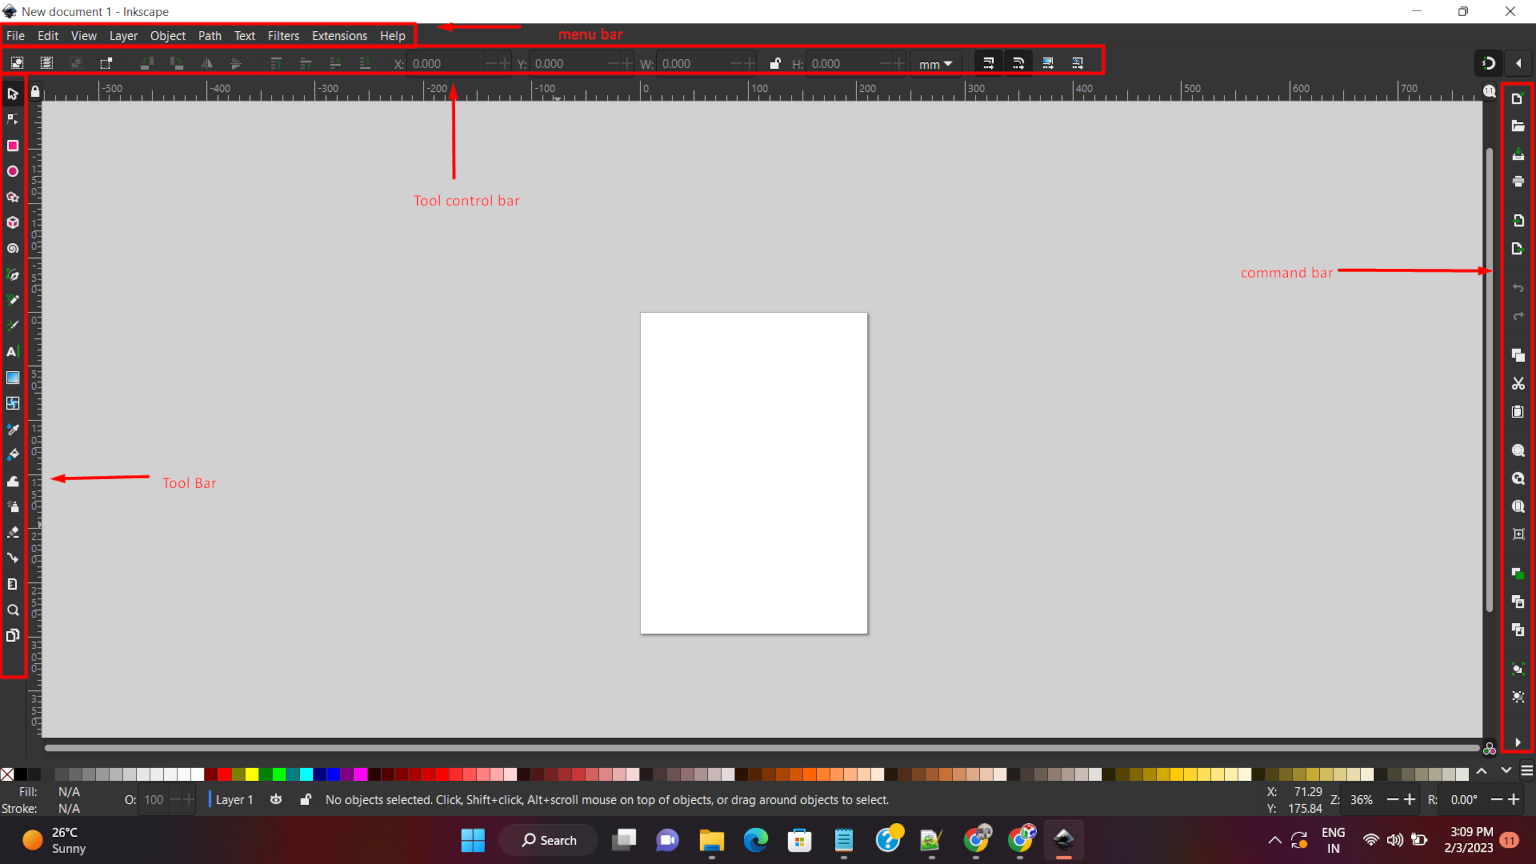
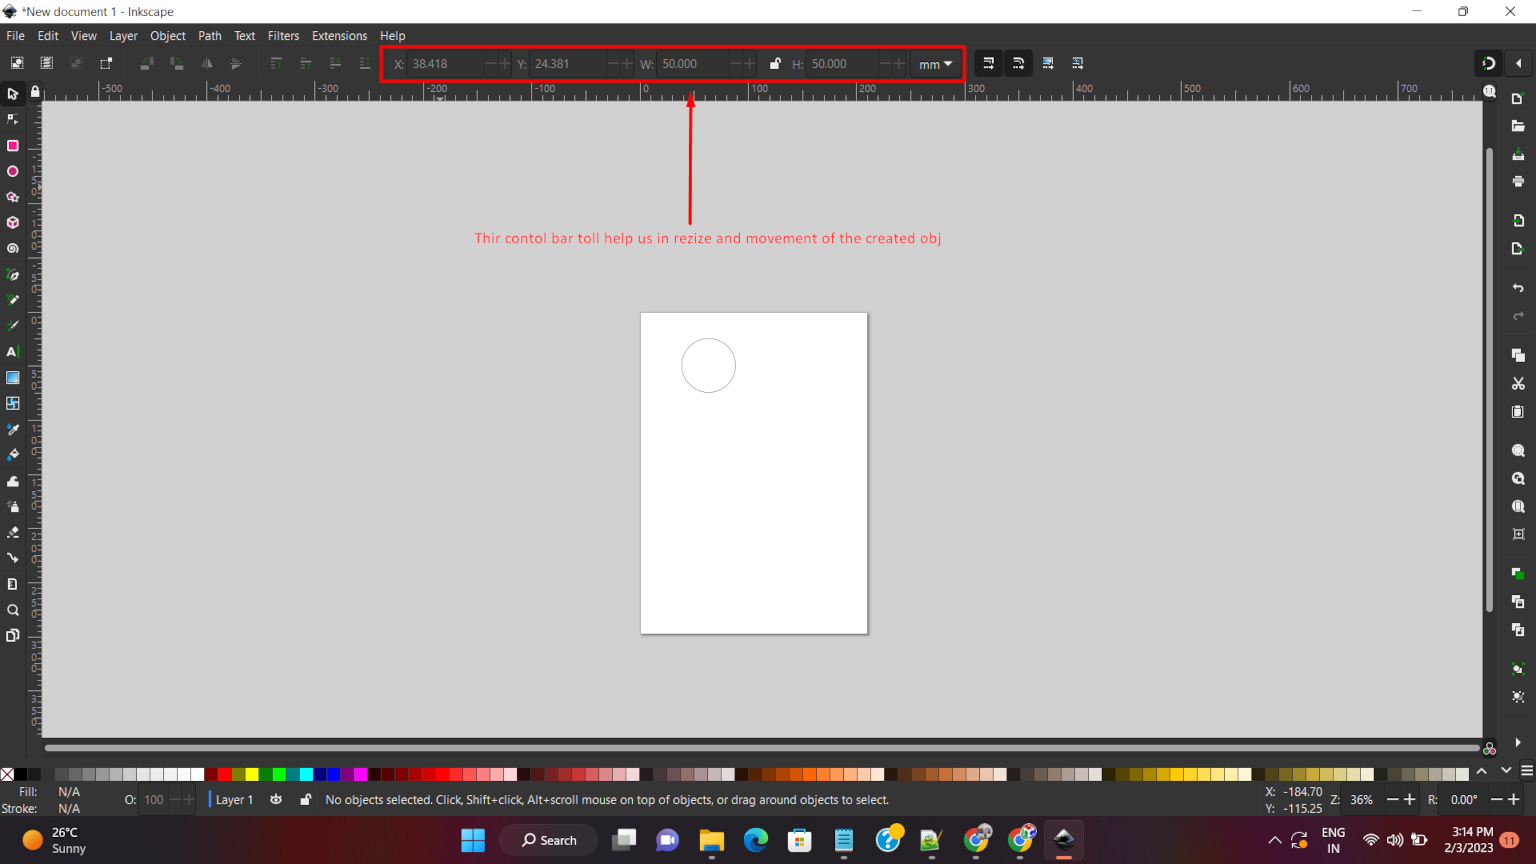
The upper layer are used to modified our object by doing changes in size and its position. We also change the unit of dimension from here.
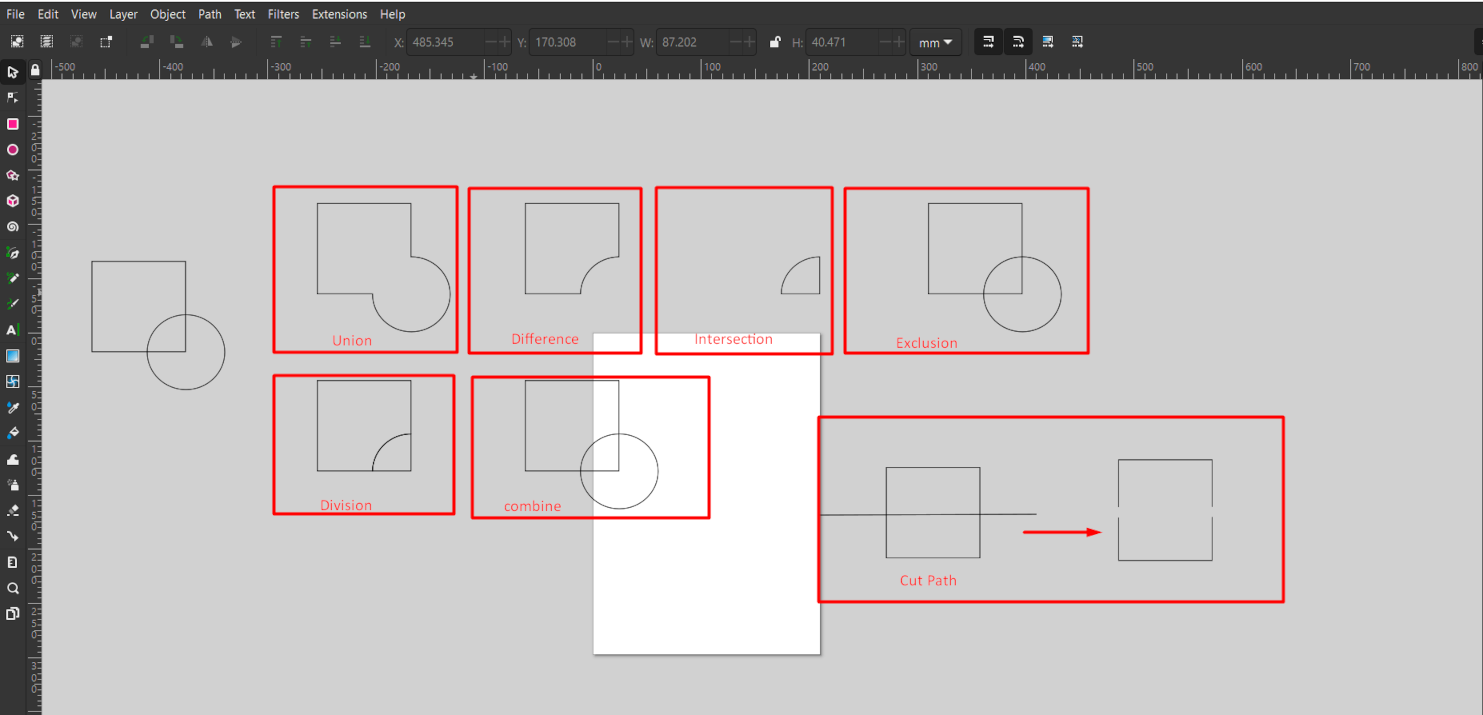
Now in this, there are different types of path command. In path we have different command like Union, Difference, Intersection, Exclusion, Combine , Break apart and Cut path etc.
I made a square and circle and then I aplied all these effect on the objects.
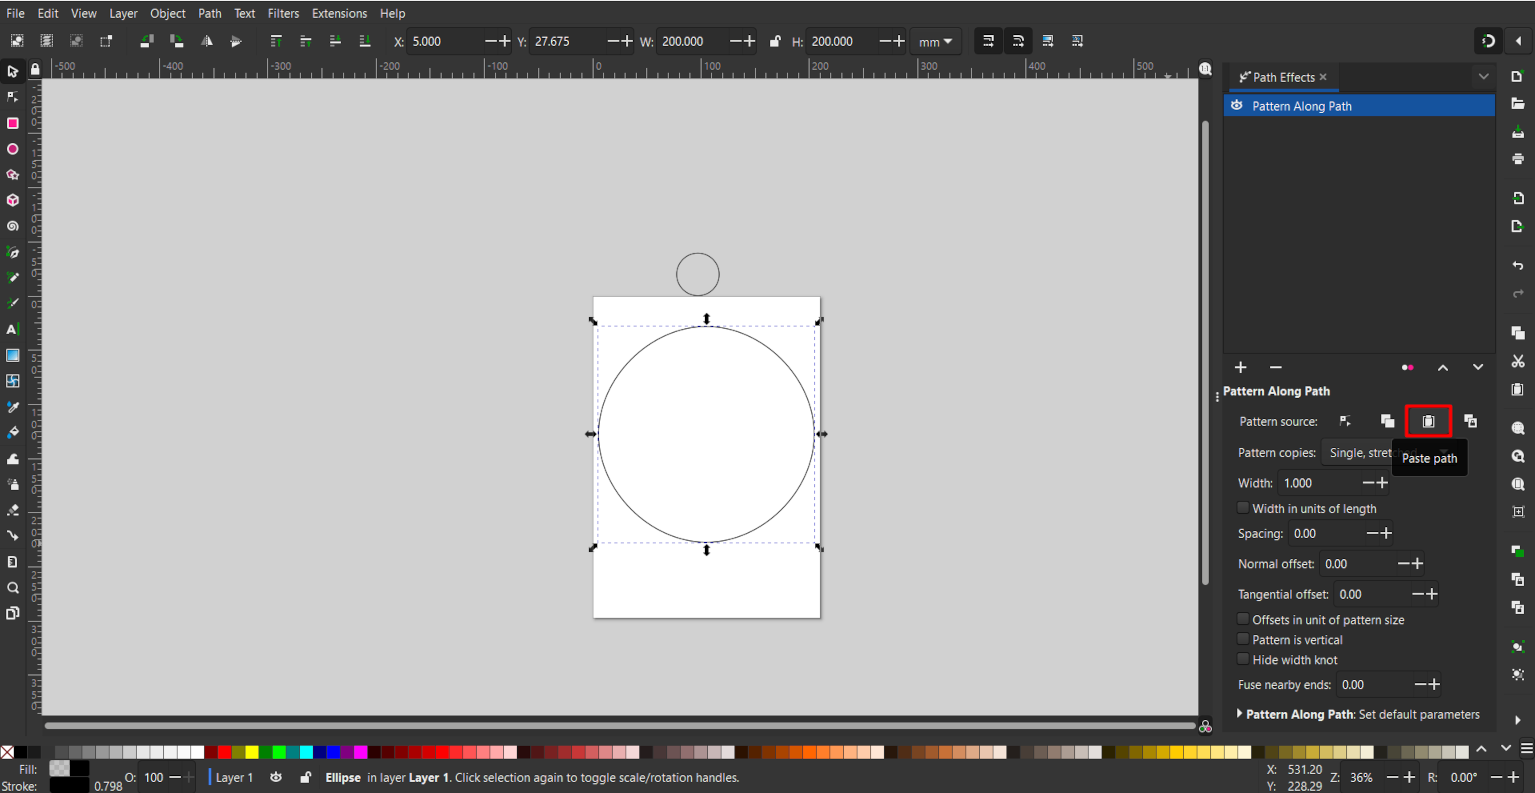
After using all these effect I tried to path effect. In this we have to create path and on this path we can paste any object. So filstly I made two circles. One is big and other is small.
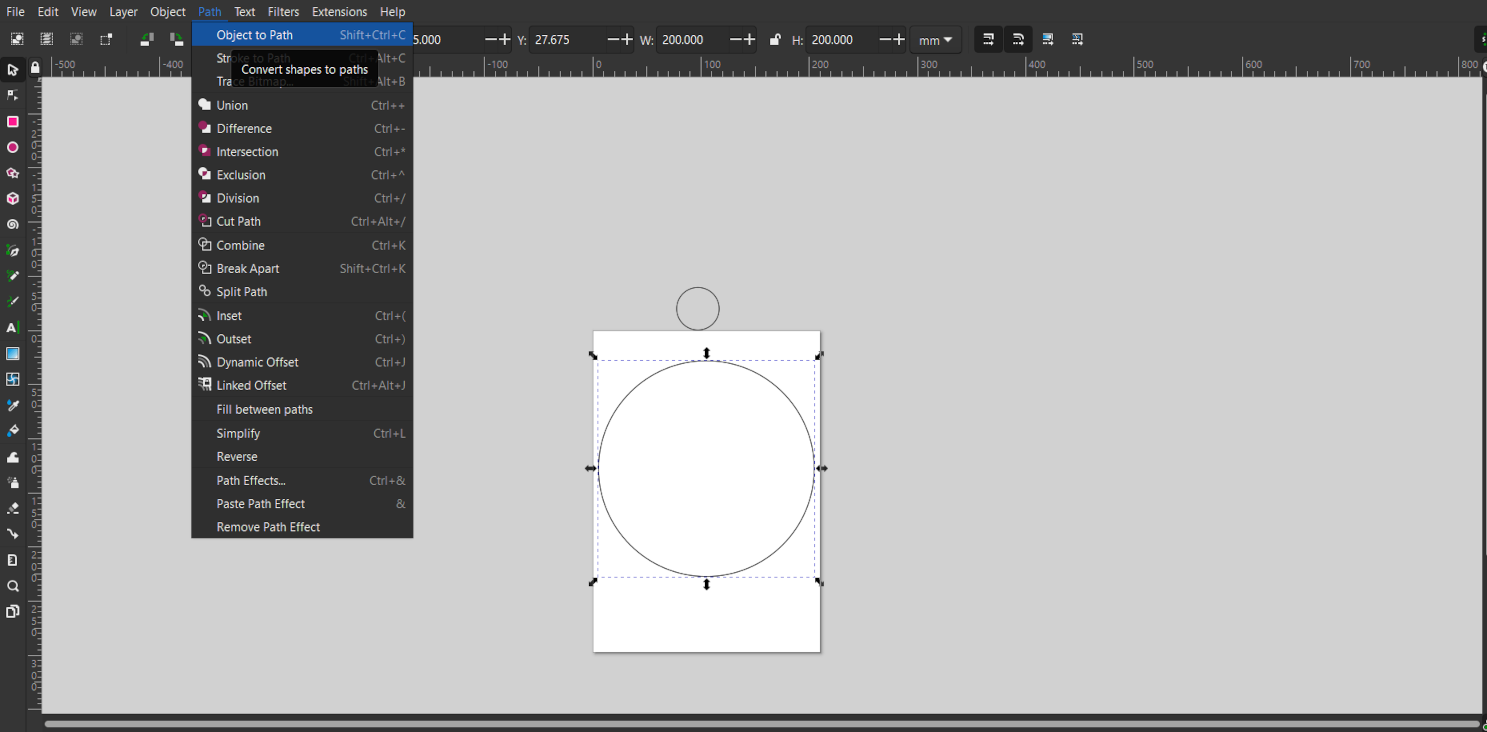
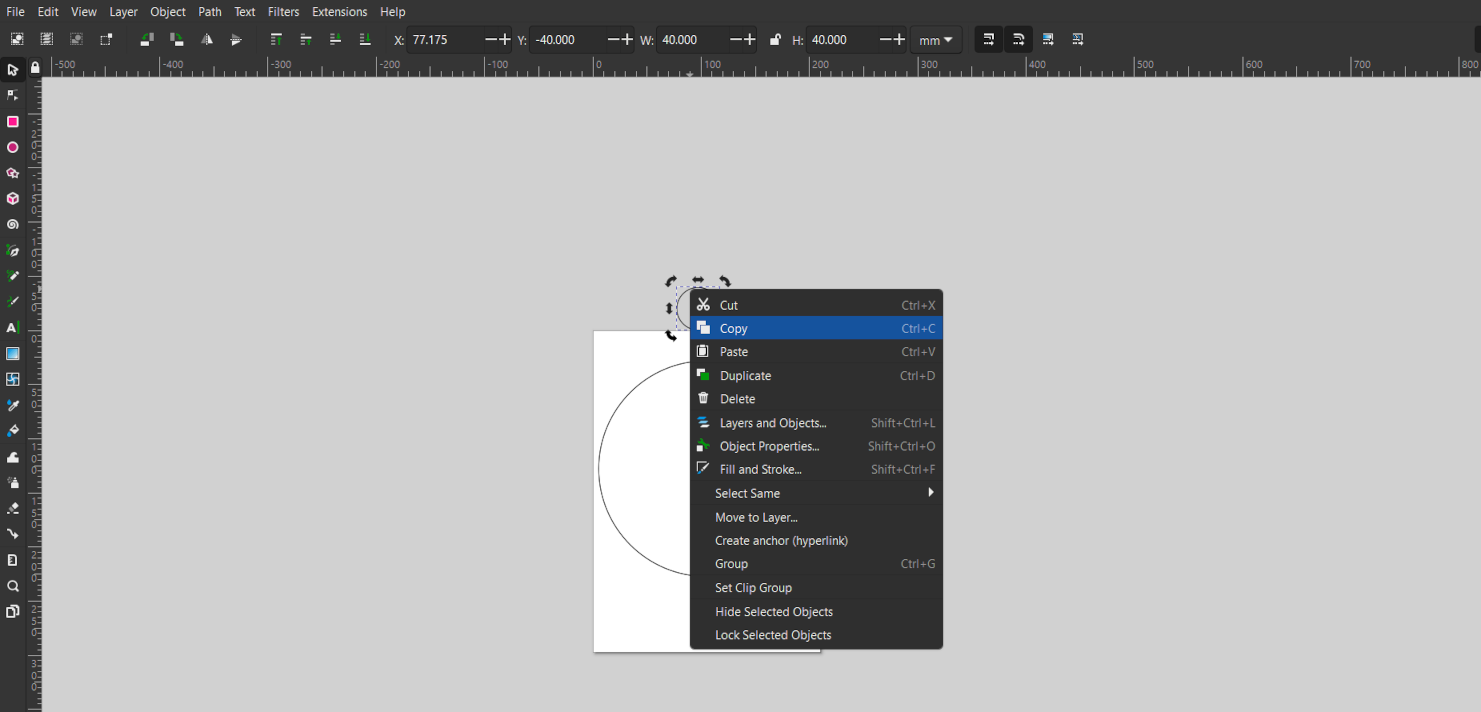
I selected bigger circle and go to path and select "Object to path" tool and I copy small circle and then selected the bigger circle and go path and then select path effect.
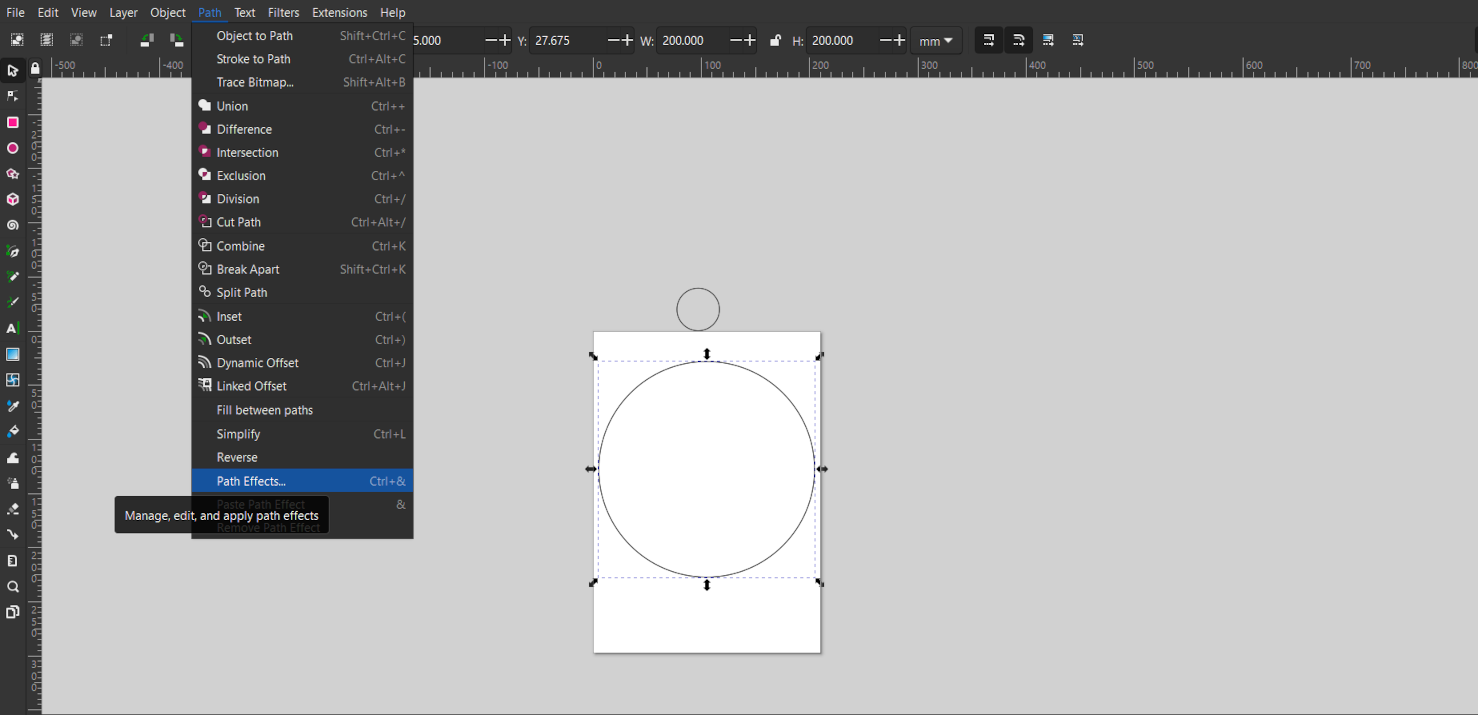
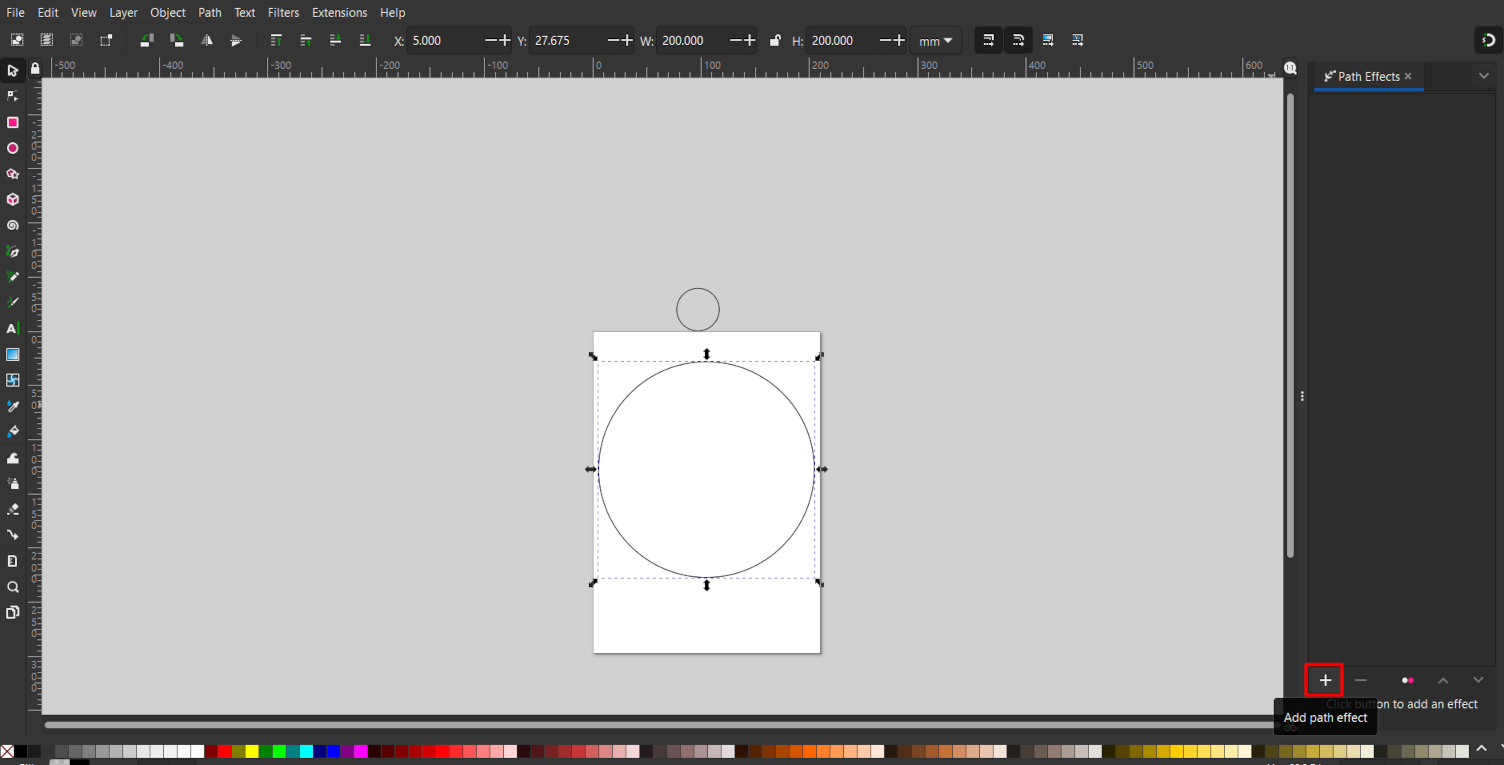
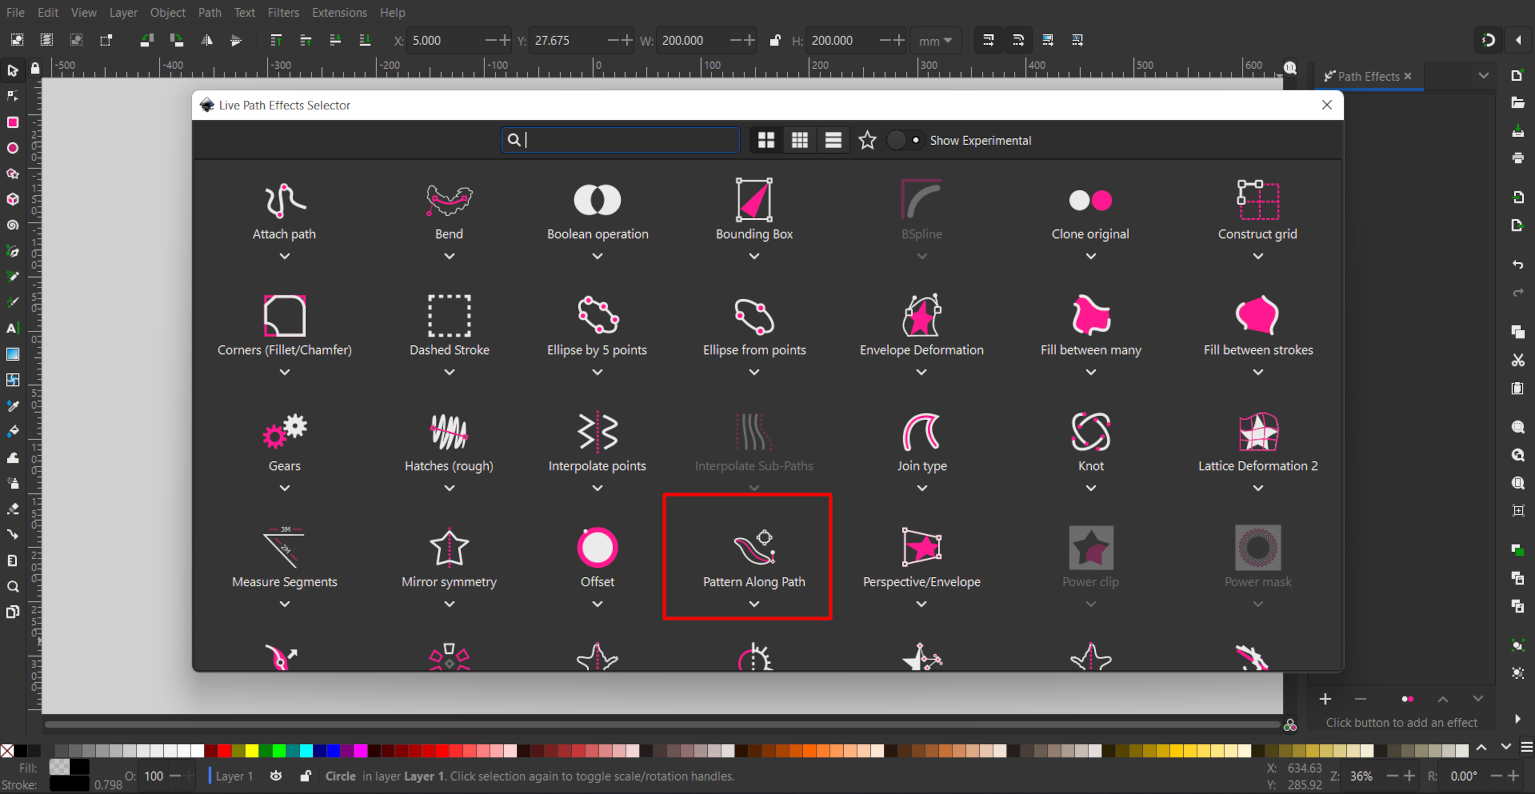
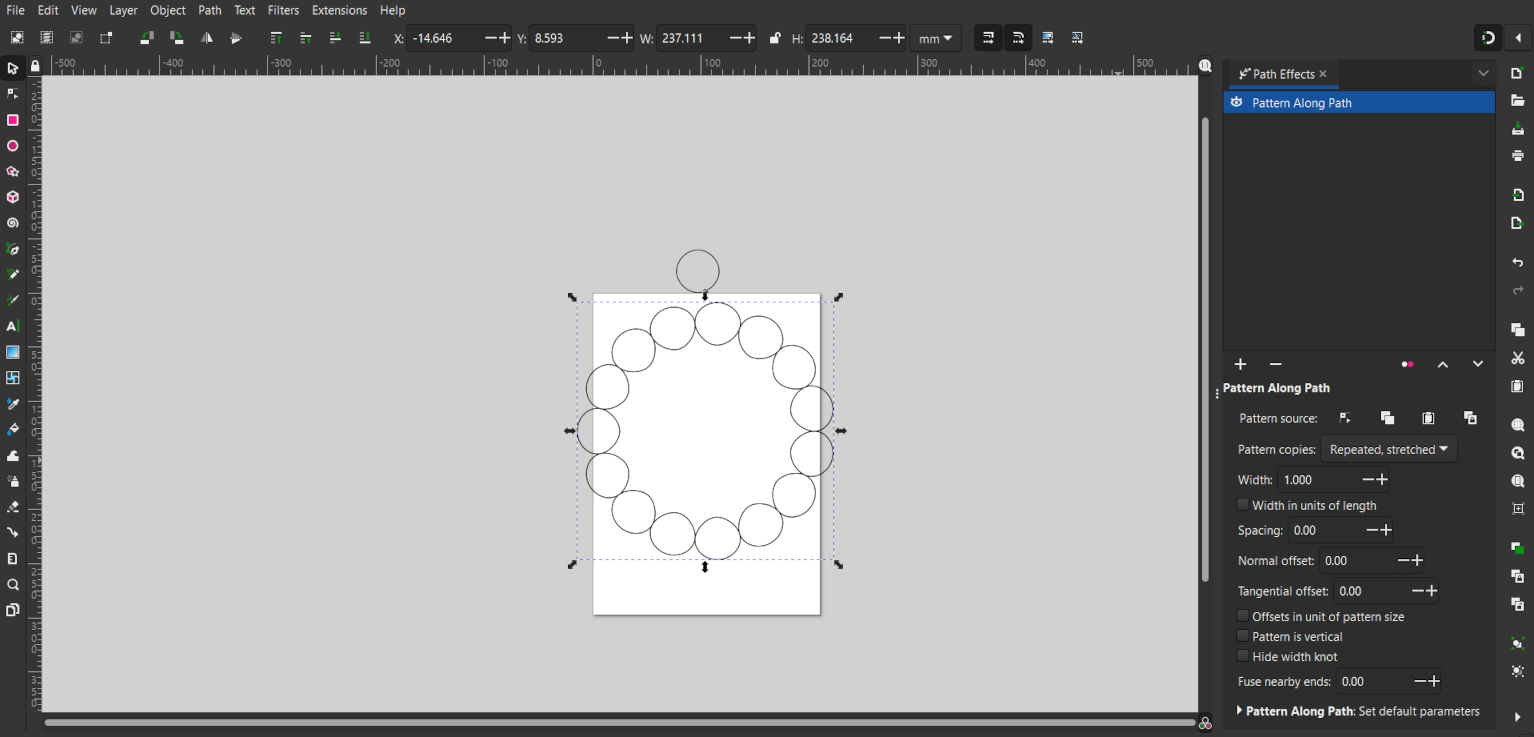
In path effect I choose pattern along path option and then paste the path . Then my small circle are lying on the path. Its number and spacing between them can be mananged by the option given in the right side under path effect.
After doing all this process the final result is shown in below image
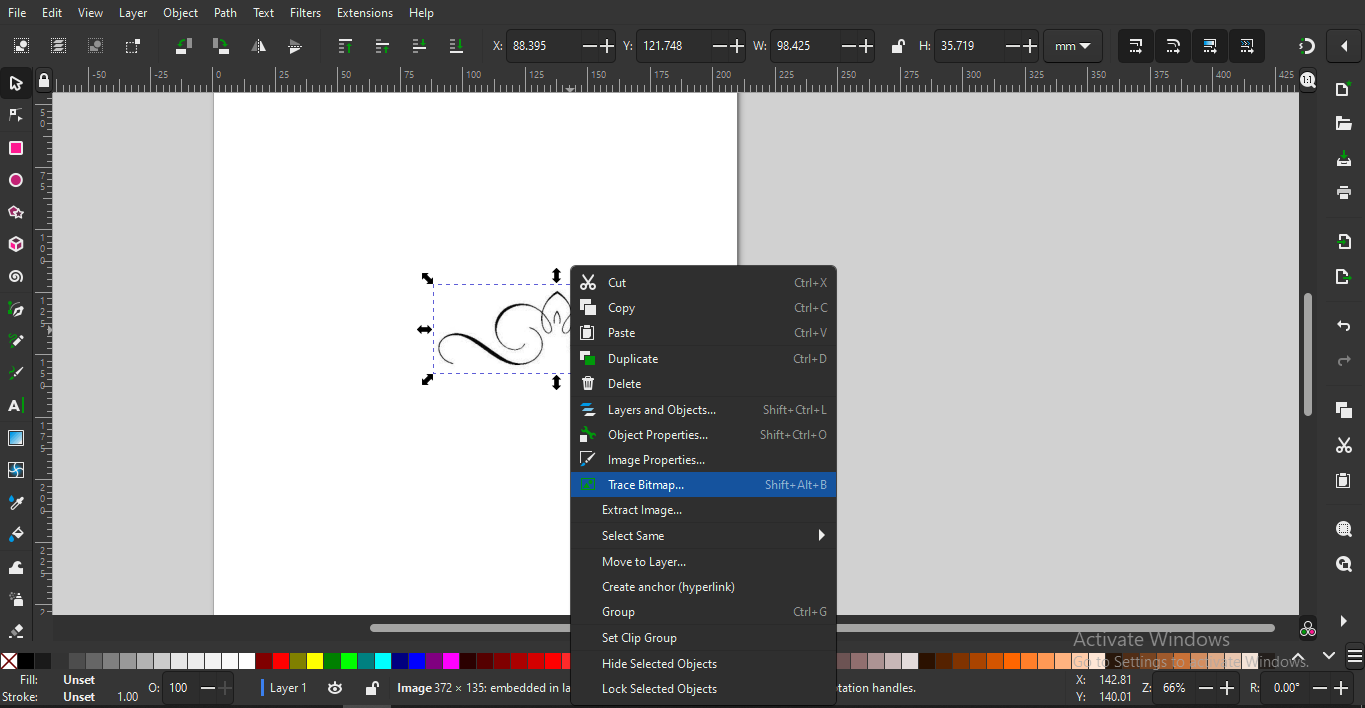
Then I tried to convert a raster image into vector image so I used a radter design file and import it in Inkscape then I right click on it it show some option. I click on Trace Bitmap option.
Trace Bitmap is a tool to convert any raster image into vector image . In this we have 4 ways to convert an object or image into vector. .
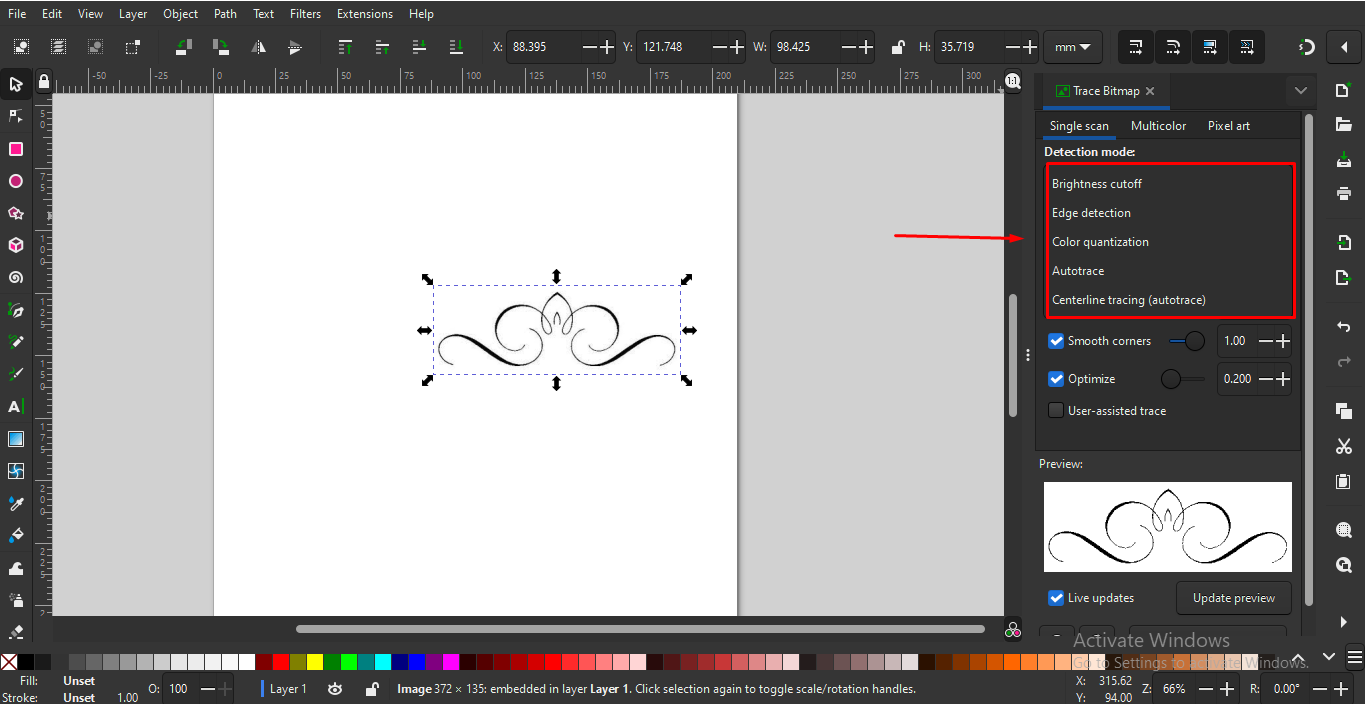
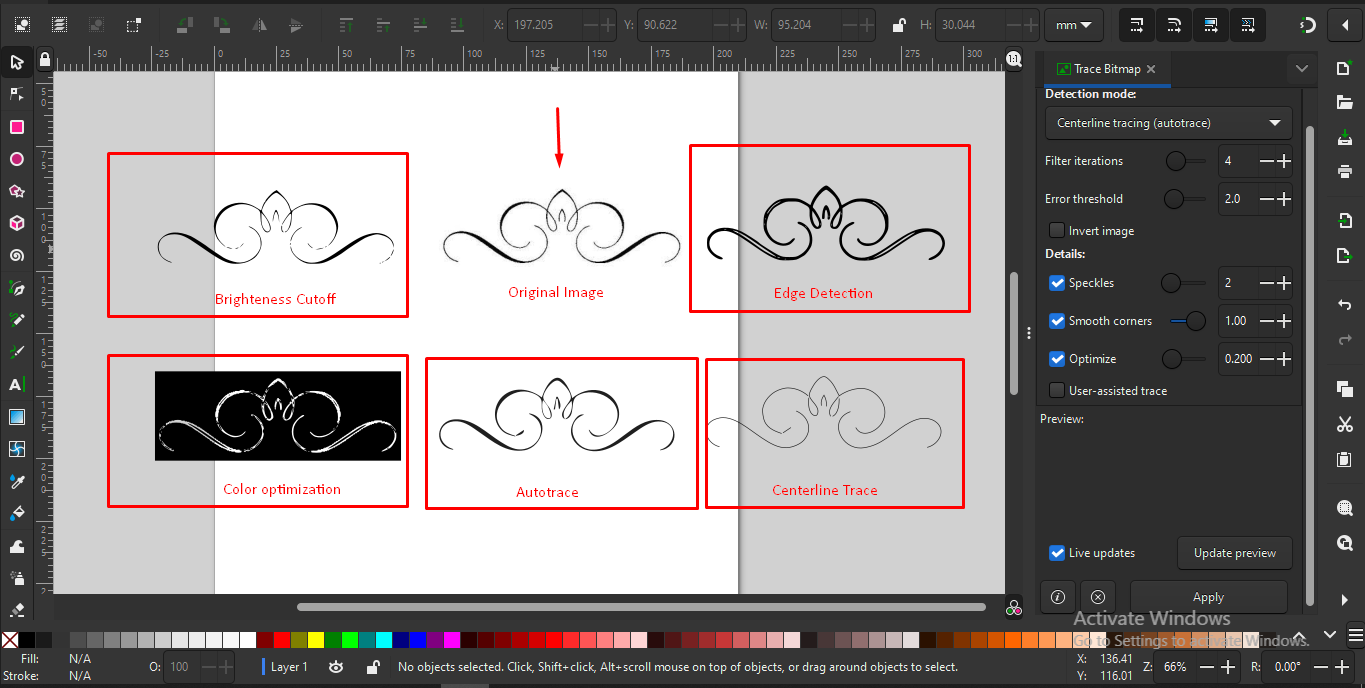
And at the end I compare the result with raster image.
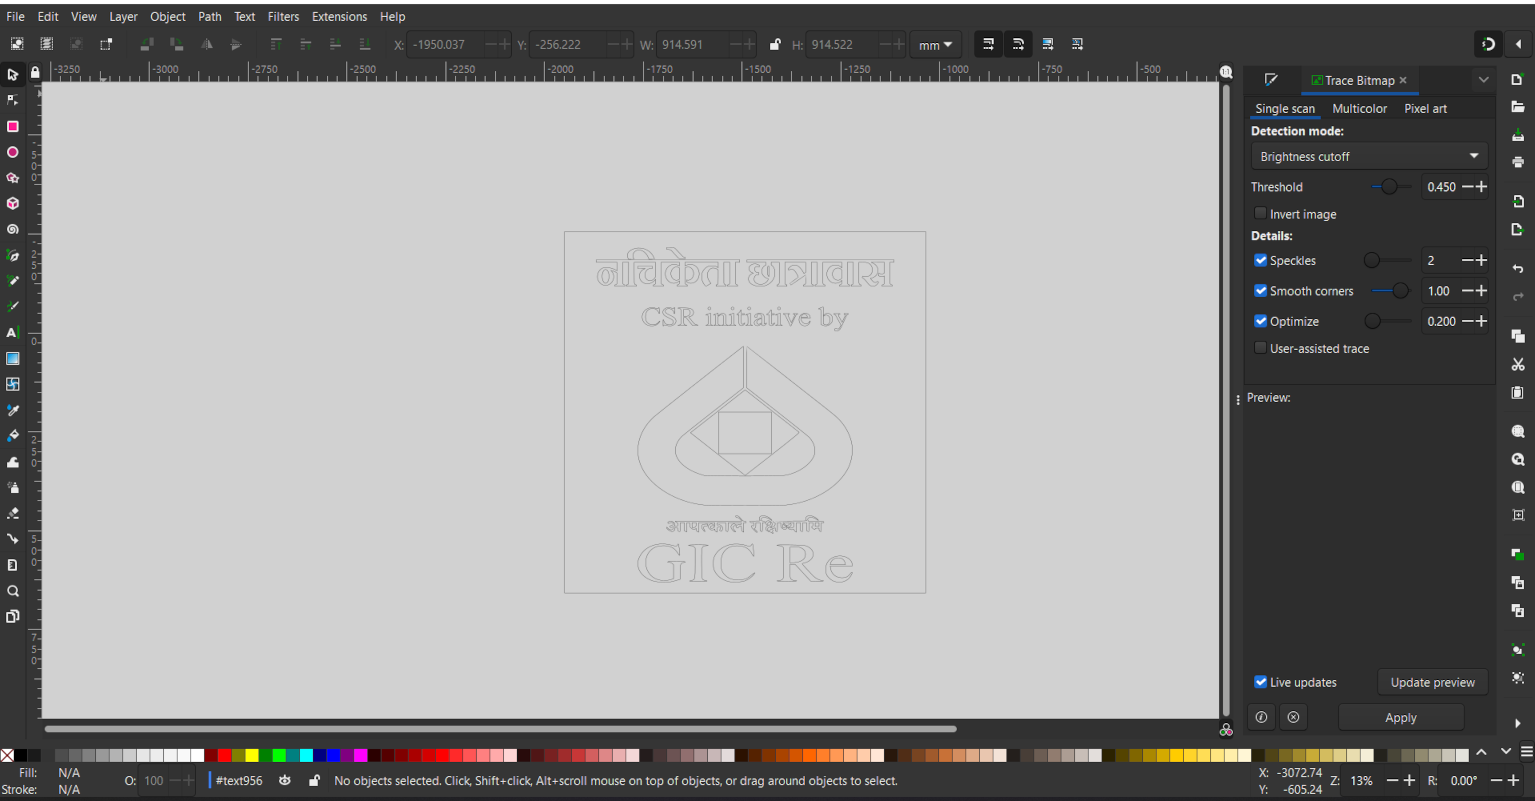
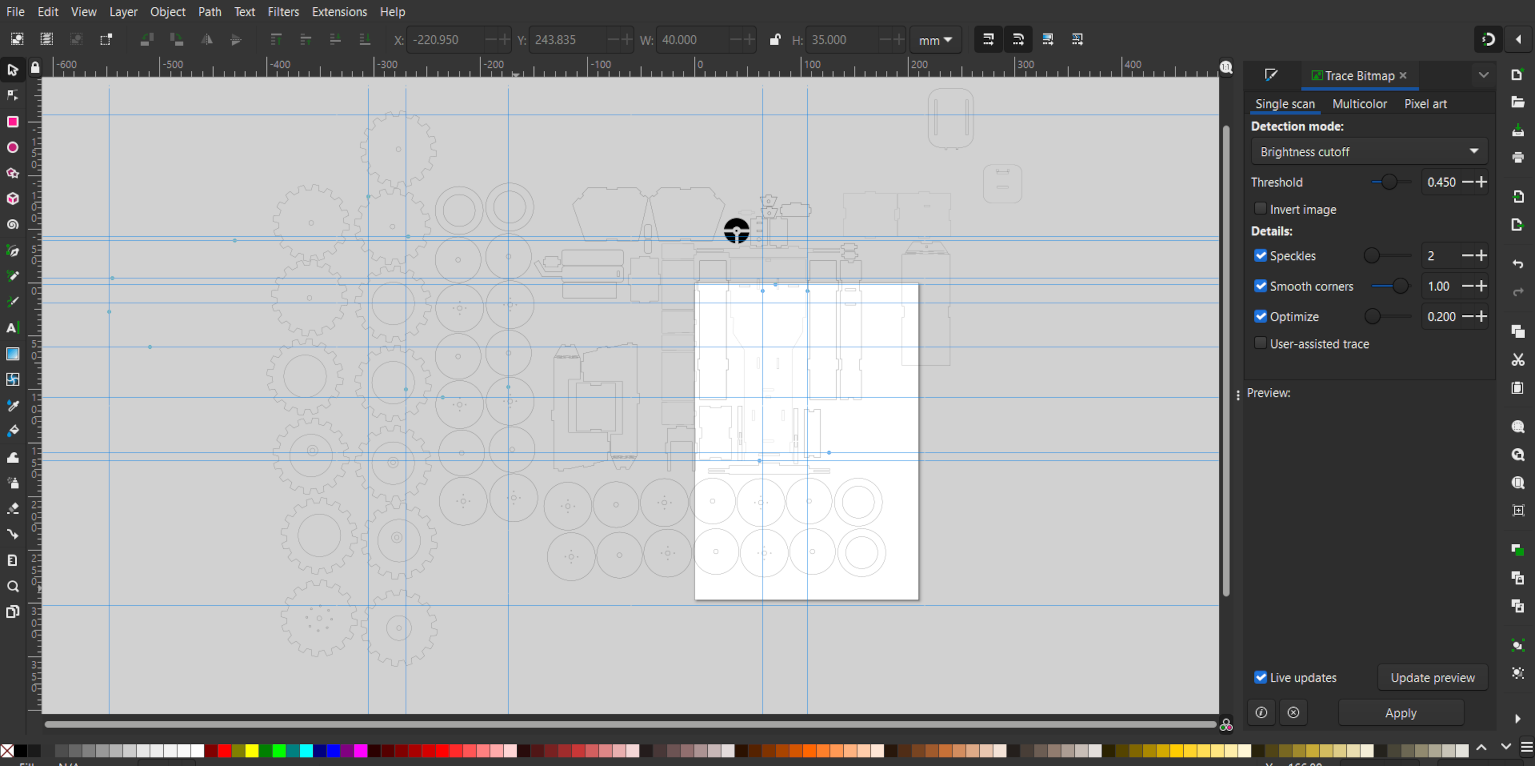
I also designed some glow sign board design for hostel building and tractor design in Inkscape.
Click here to download the Inkscape Software.
3D design
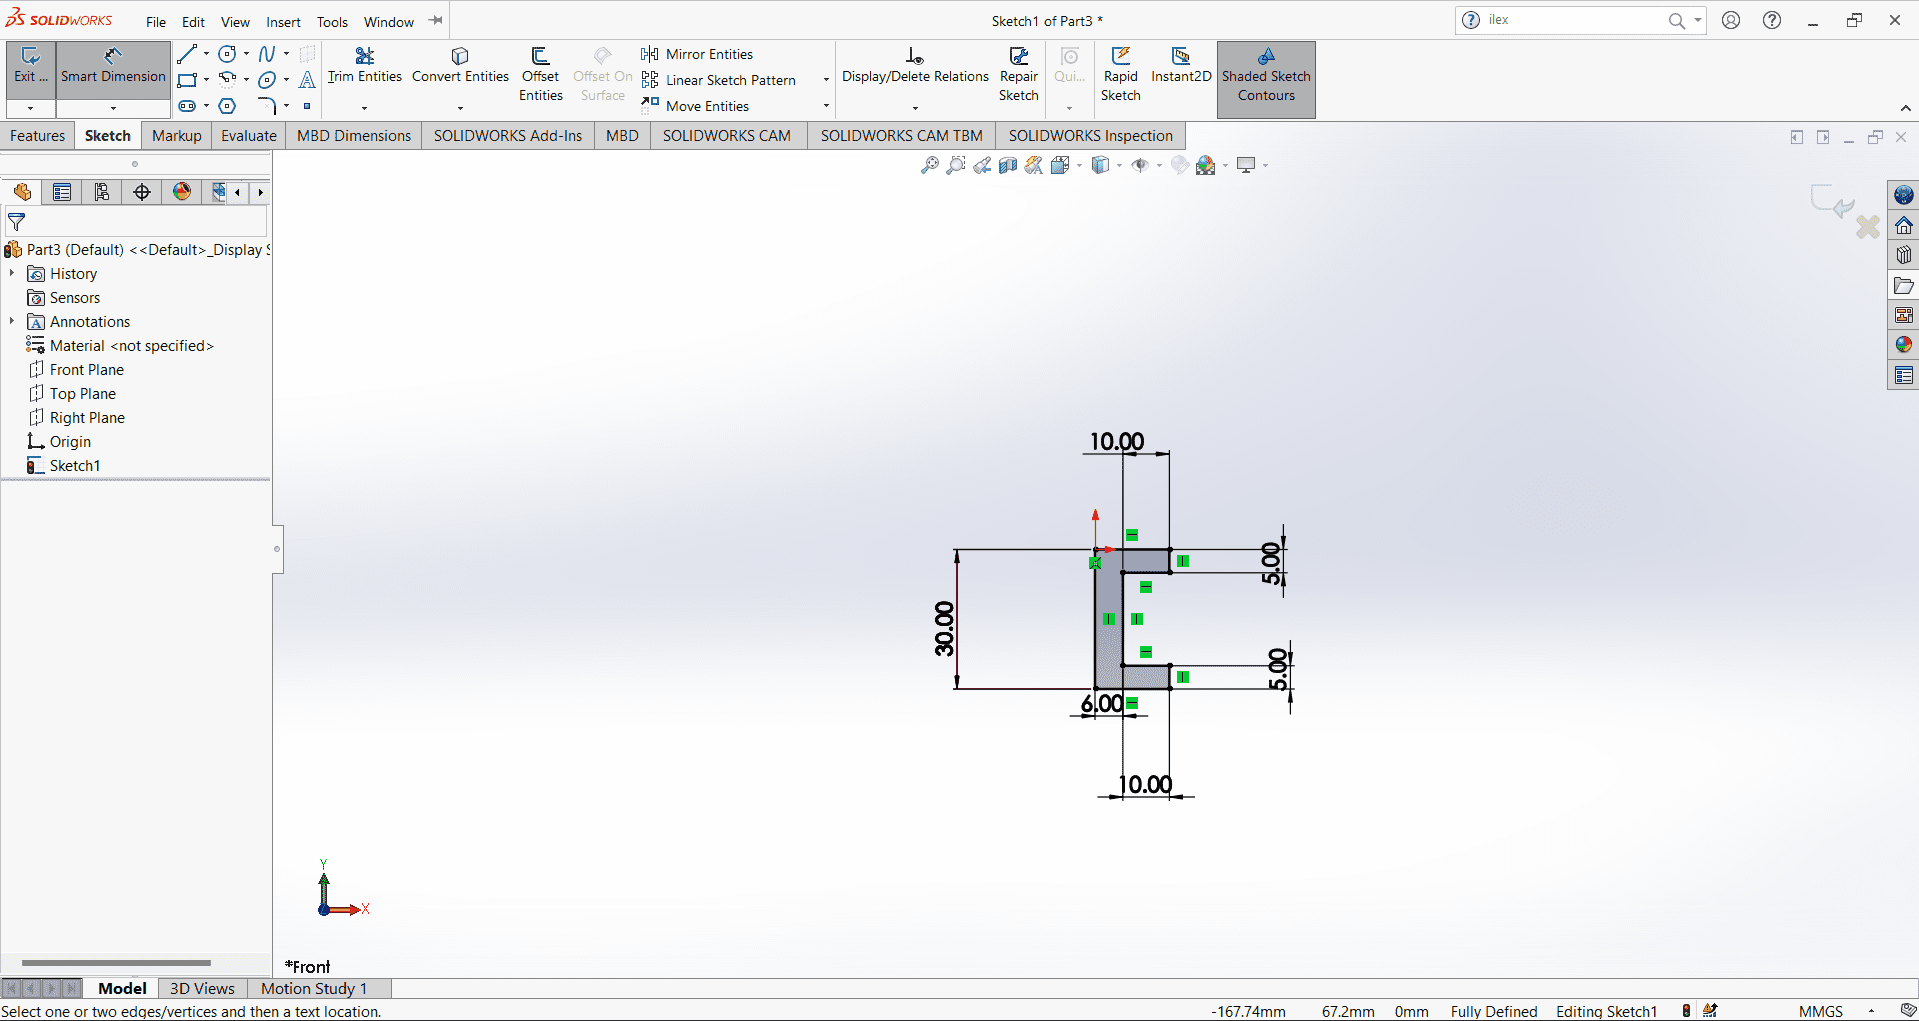
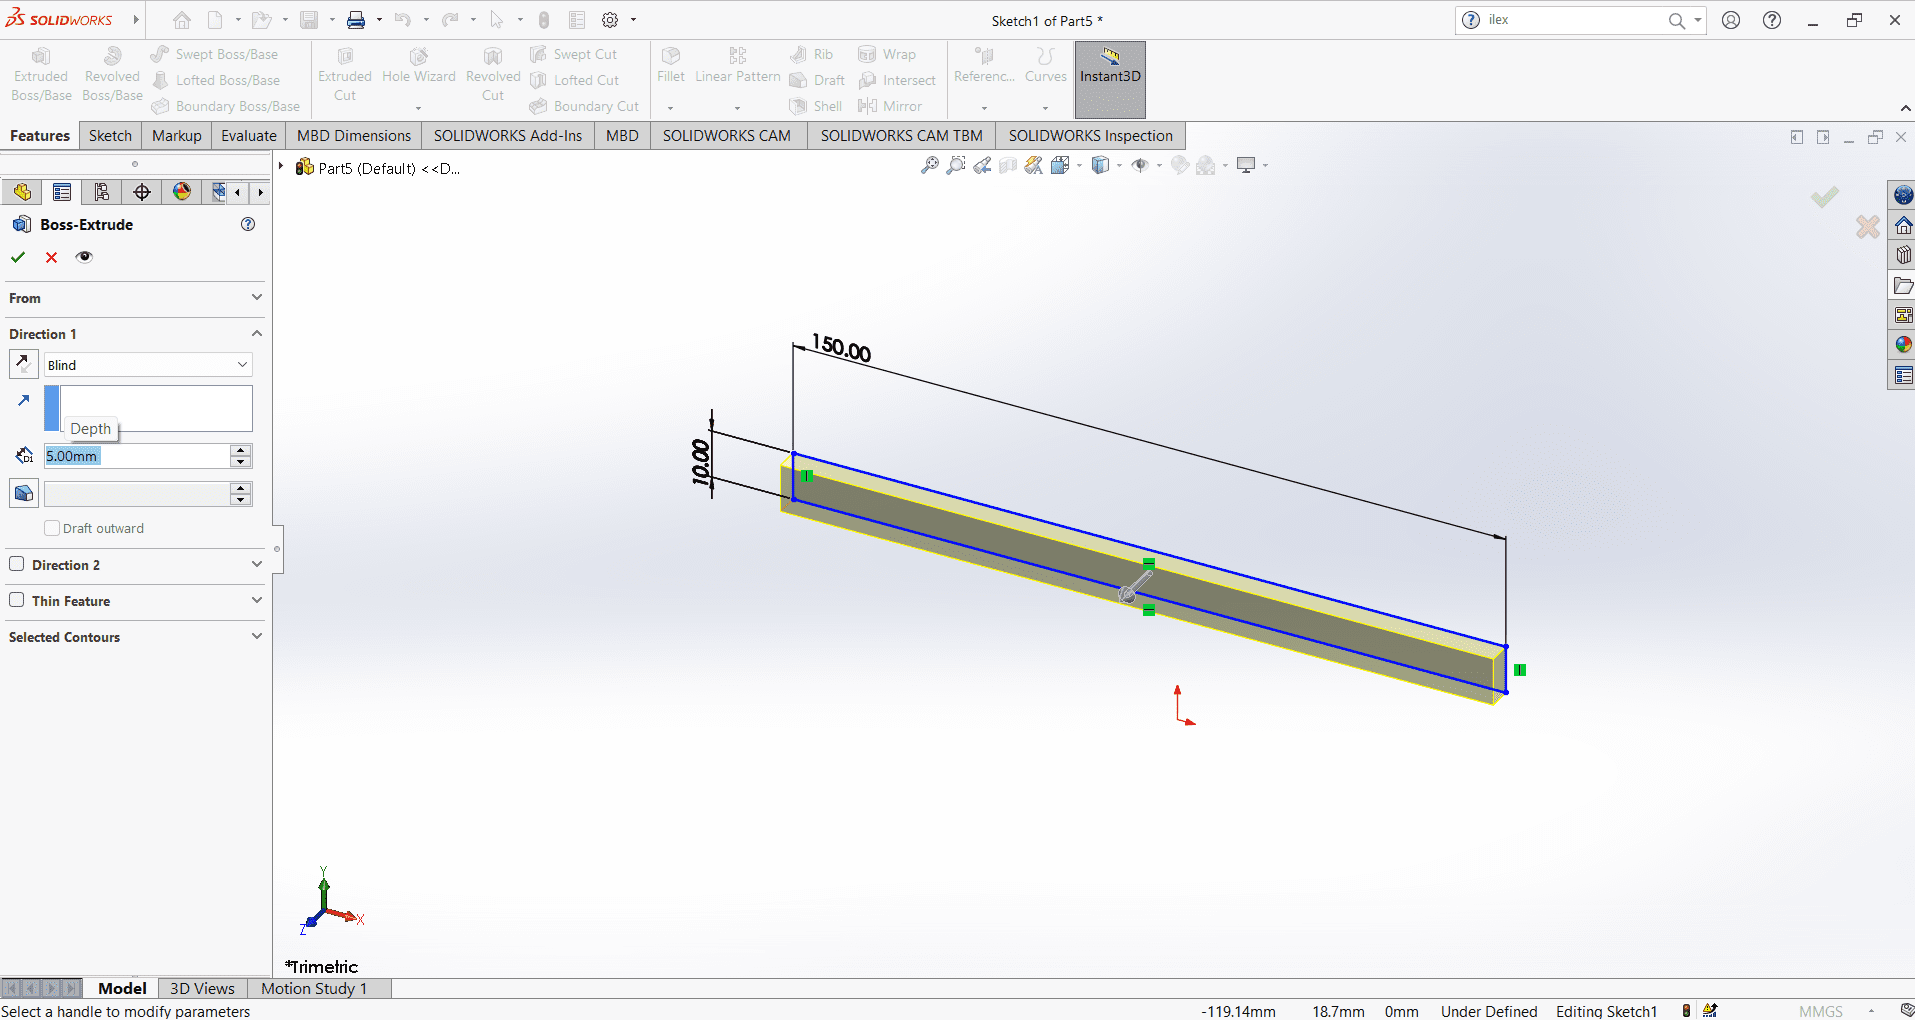
Now I have to design something on a 3d software. For 3D design I Choosed Solidworks. Solidwork is a paid Software and its license is provided by the Fabacademy. I started 3D Design for a keychain. Firstly I selected a plan and started making sketch on the plan. After extrude I write Fablab on it and then I tried extrude cut command and cut the Fablab in key chain.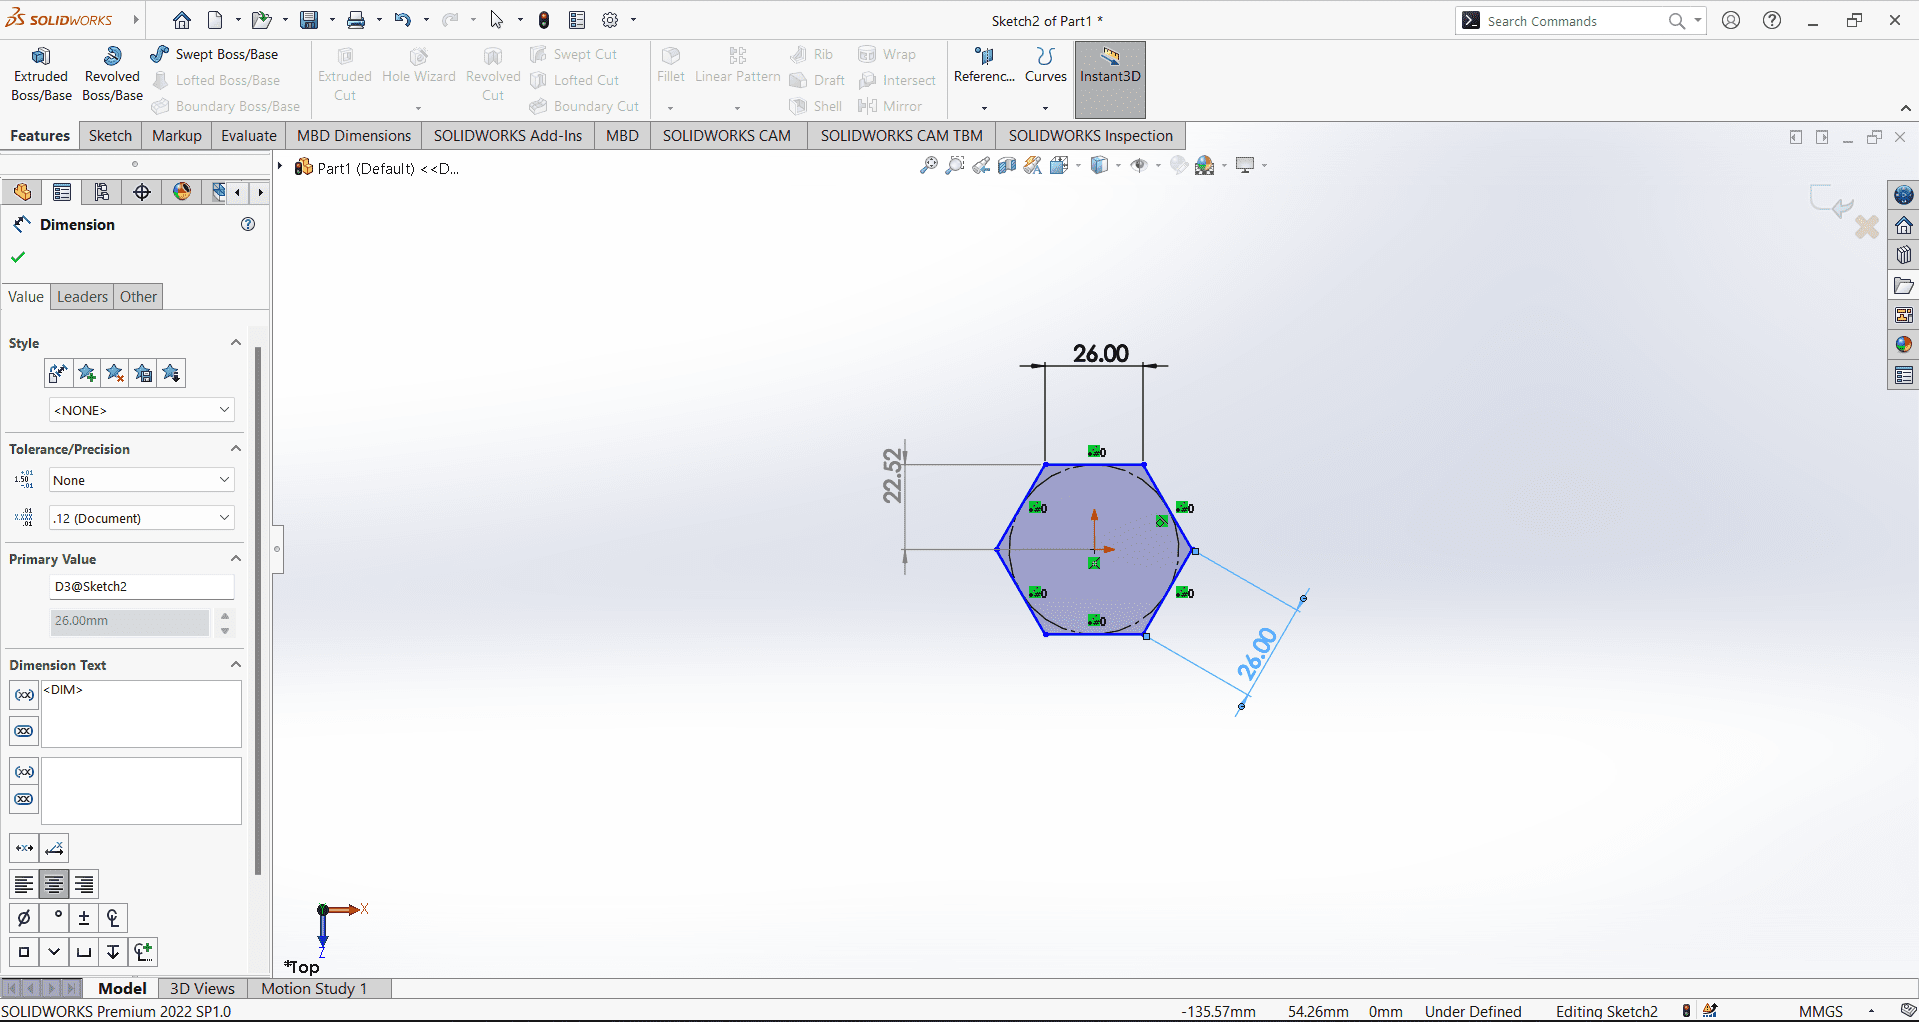
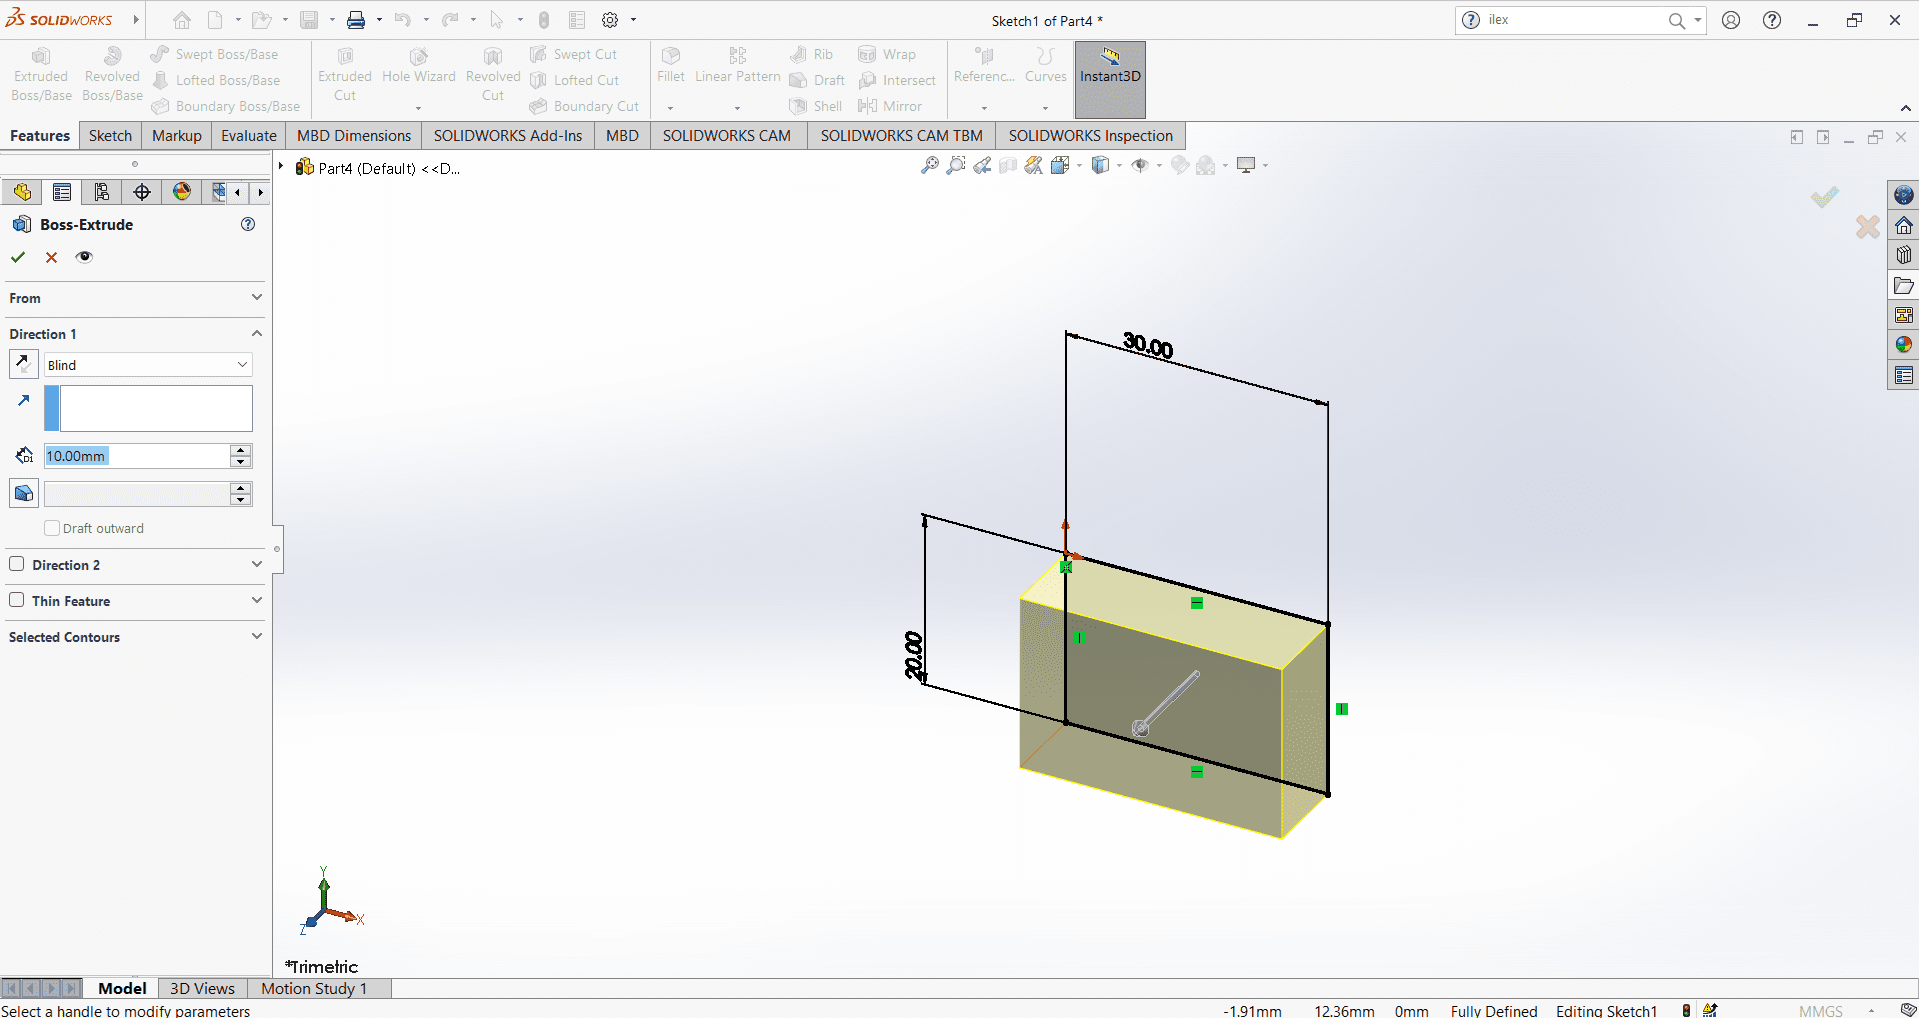
Then I choose Extrude Command which convert the 2D sketch into 3D object. In extrude we can set the depth we want.

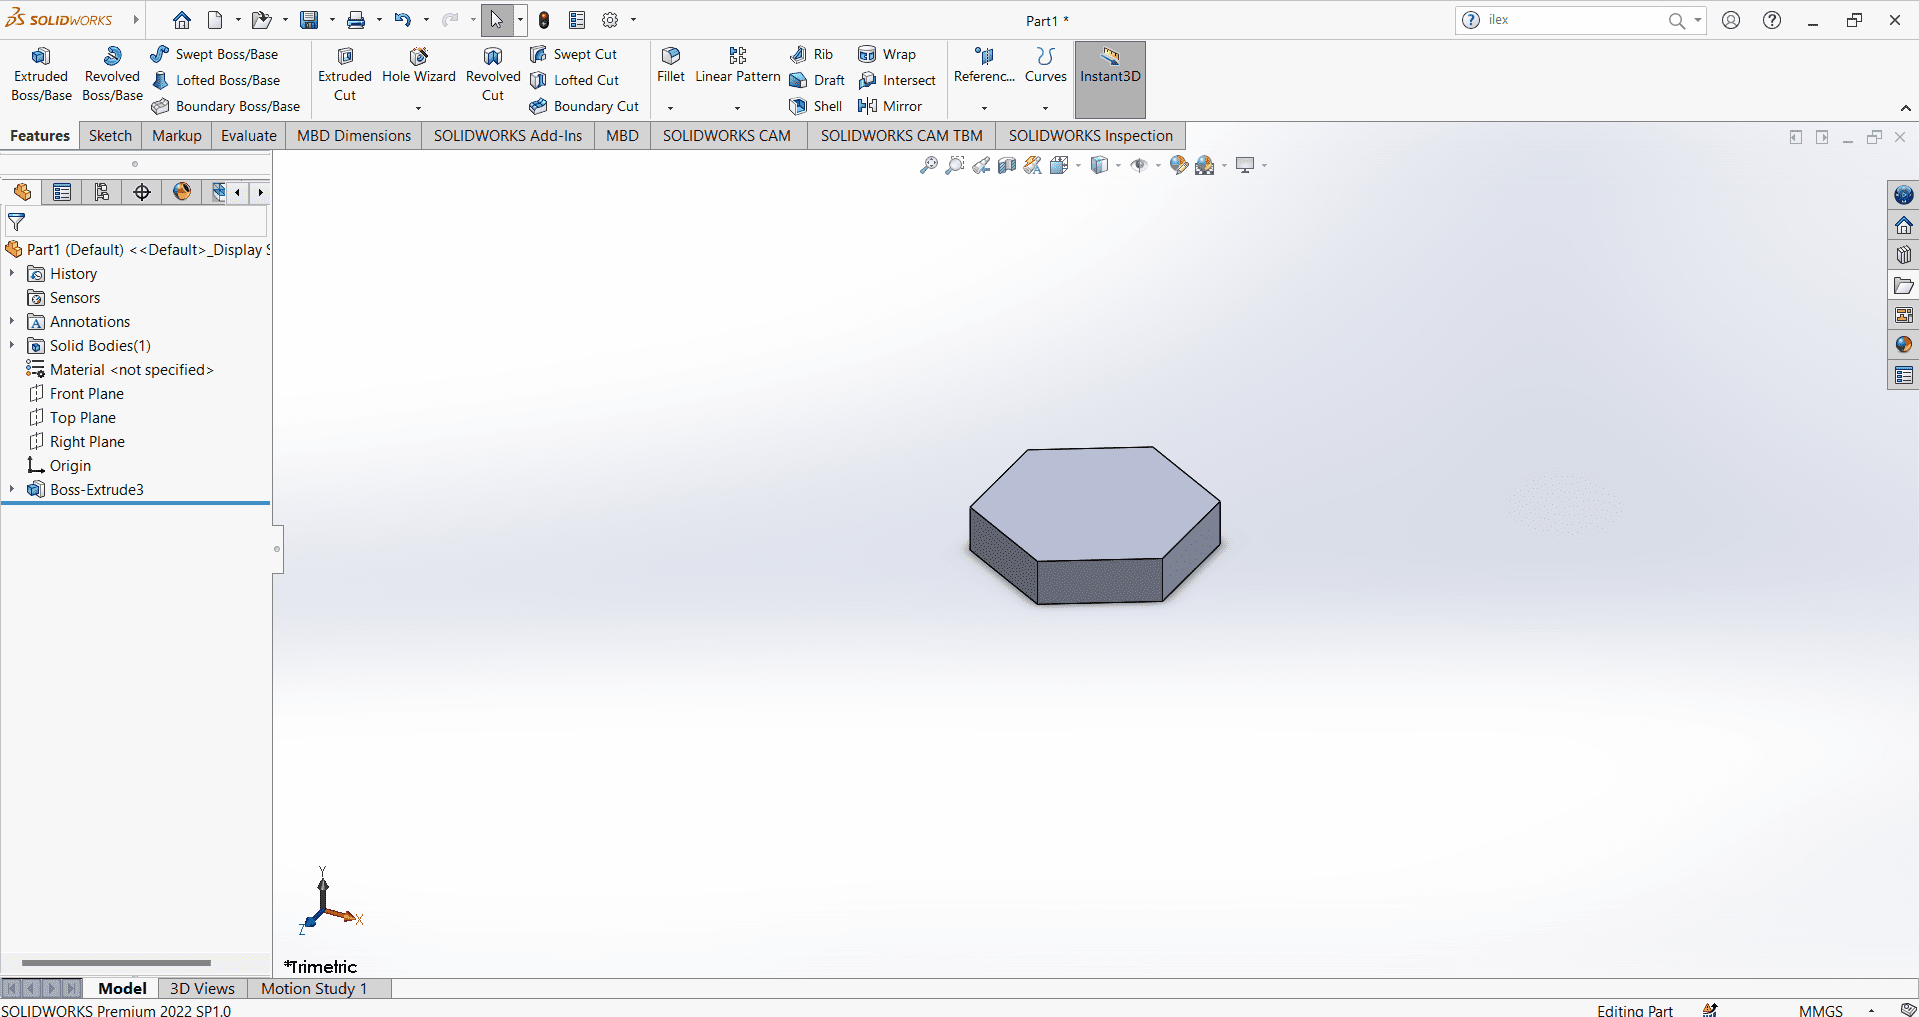
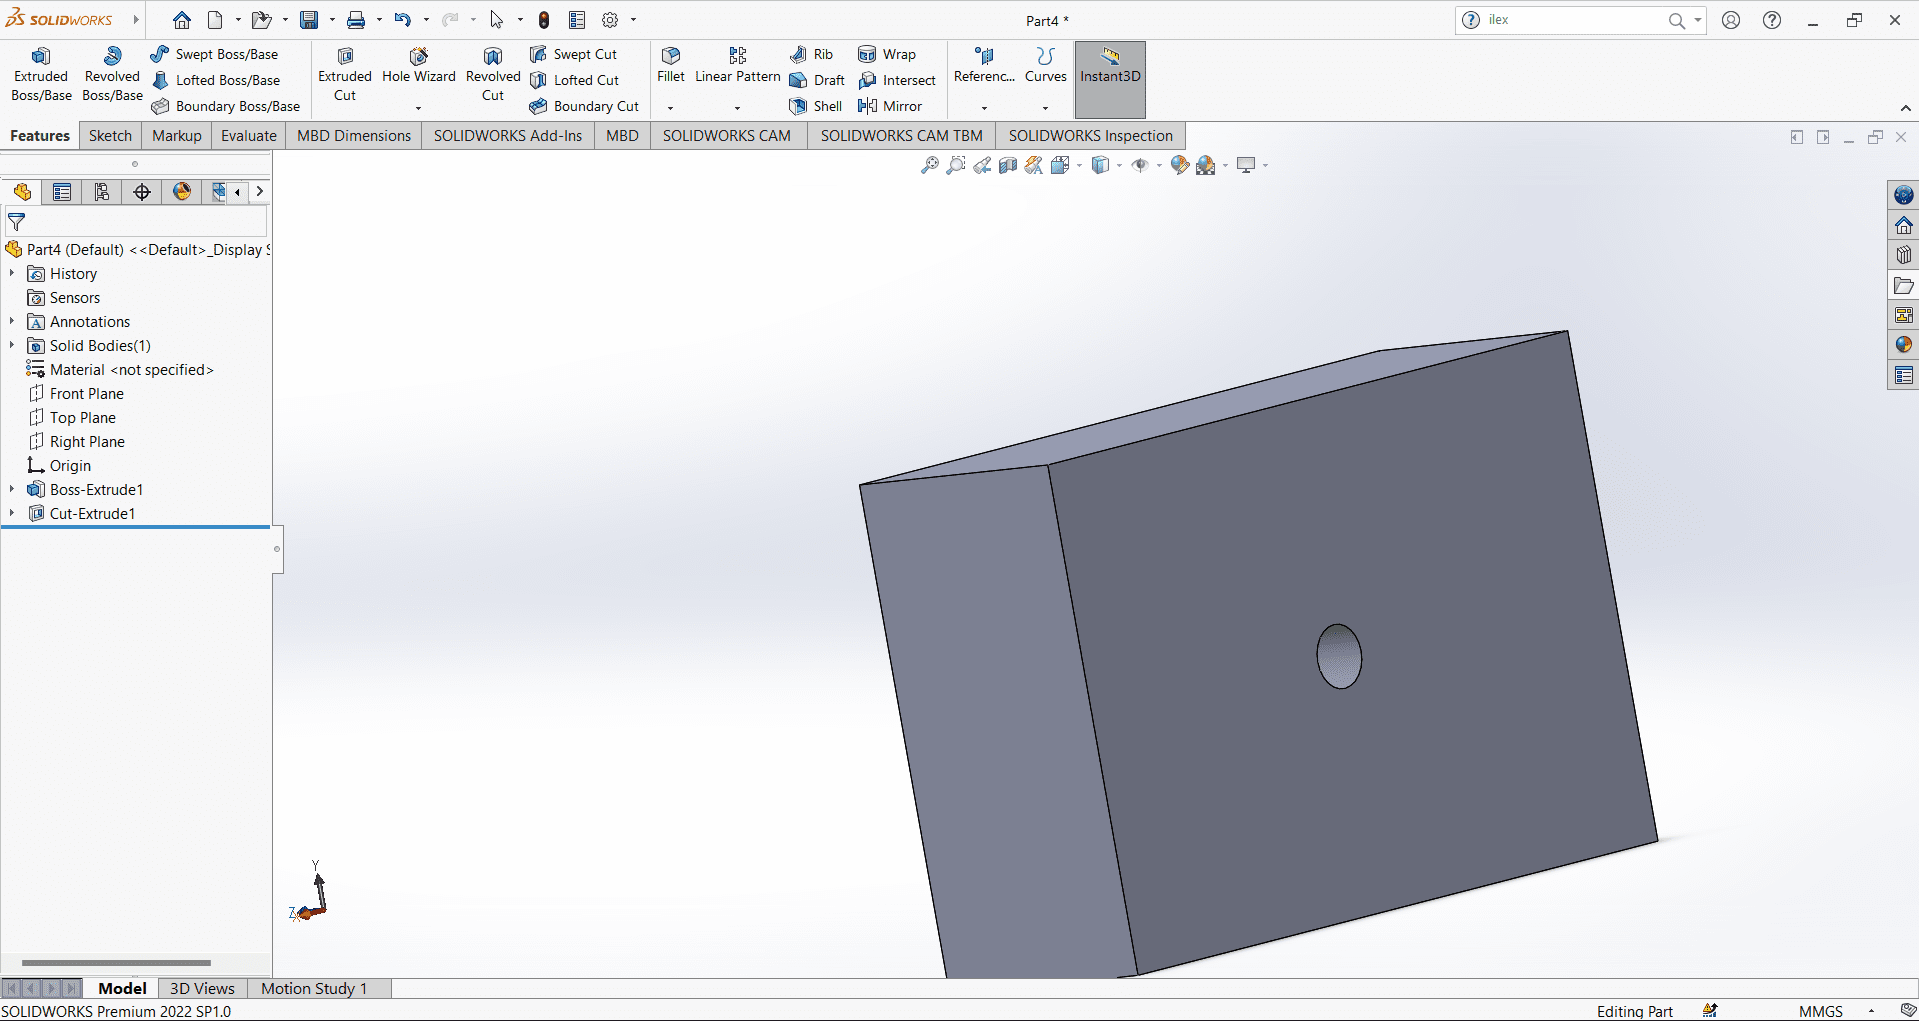
After extrude I write Fablab on it and draw a circle then I tried extrude cut command and cut the Fablab in key chain.
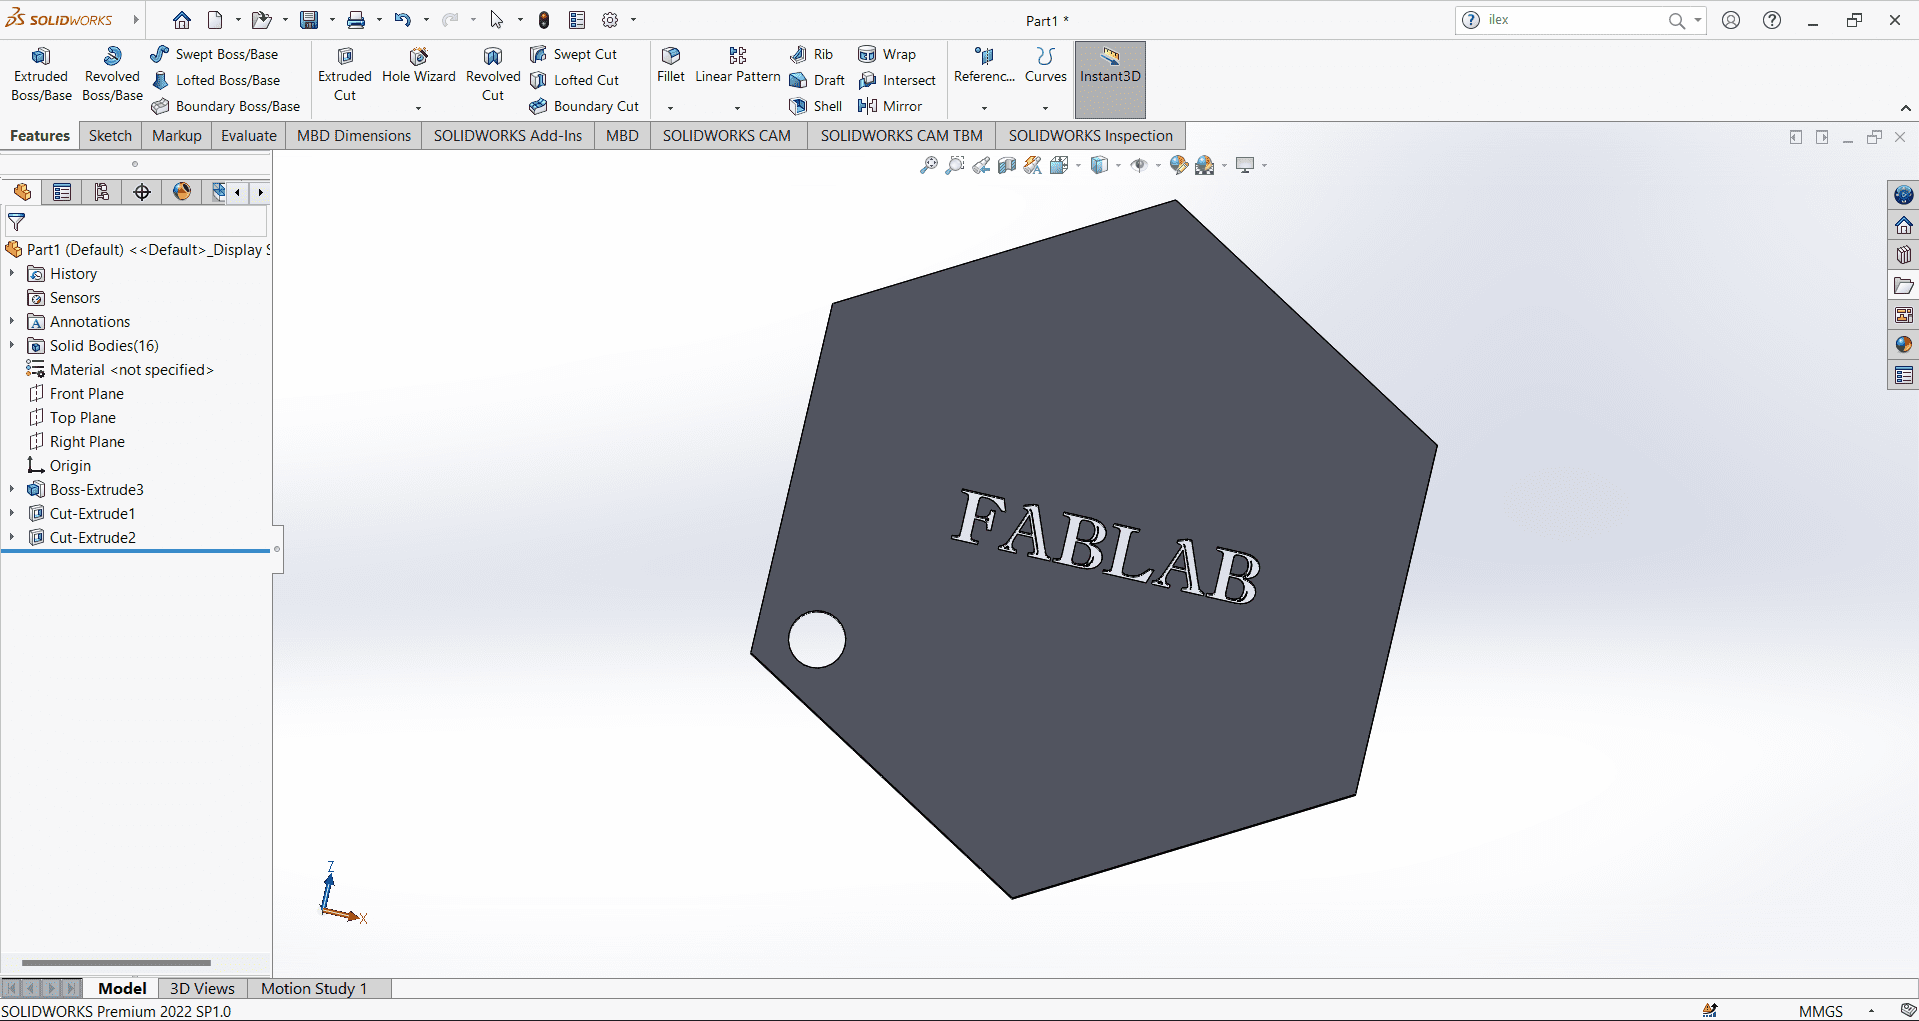
then I designed the Fablab logo on it and extrude it.
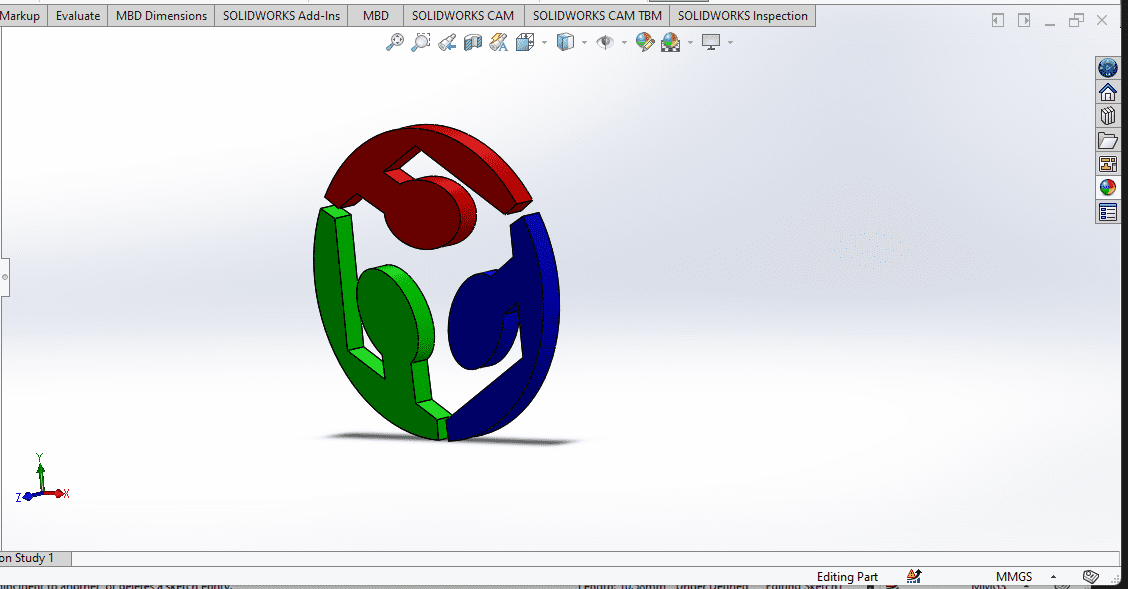
after then I colored them to look impressive
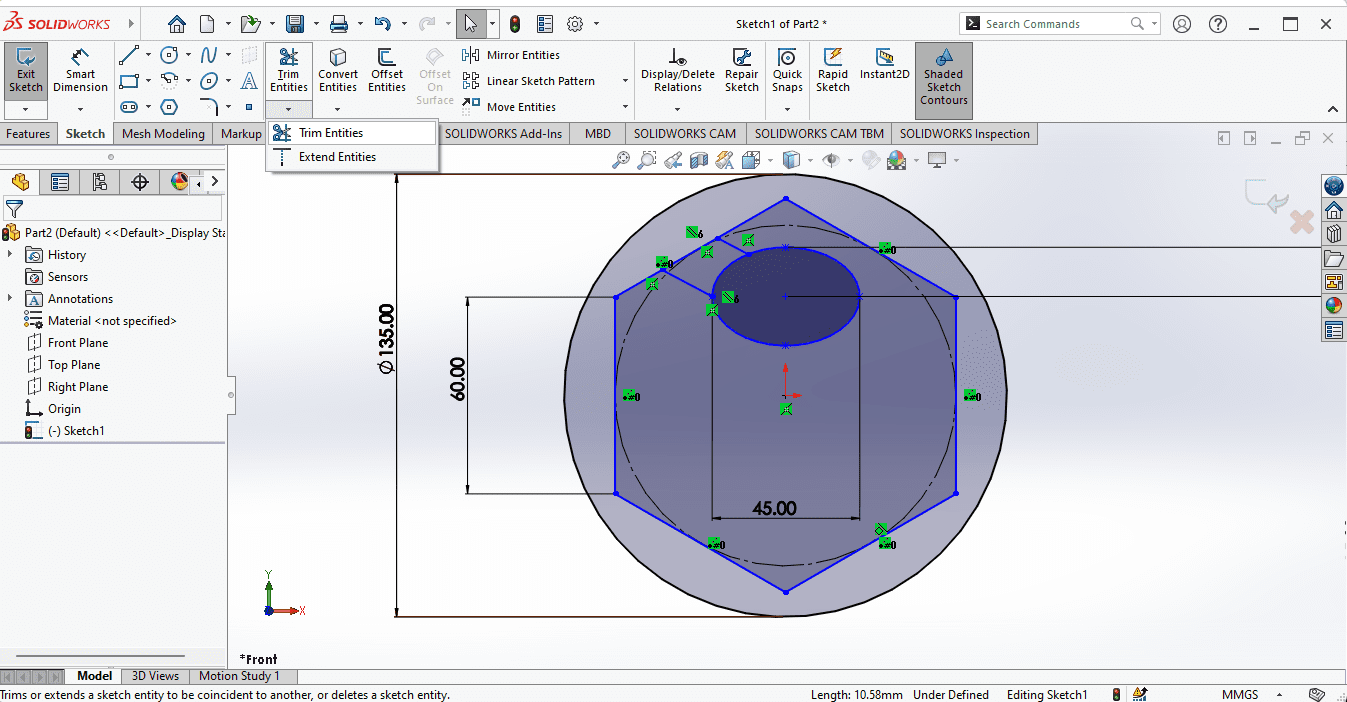
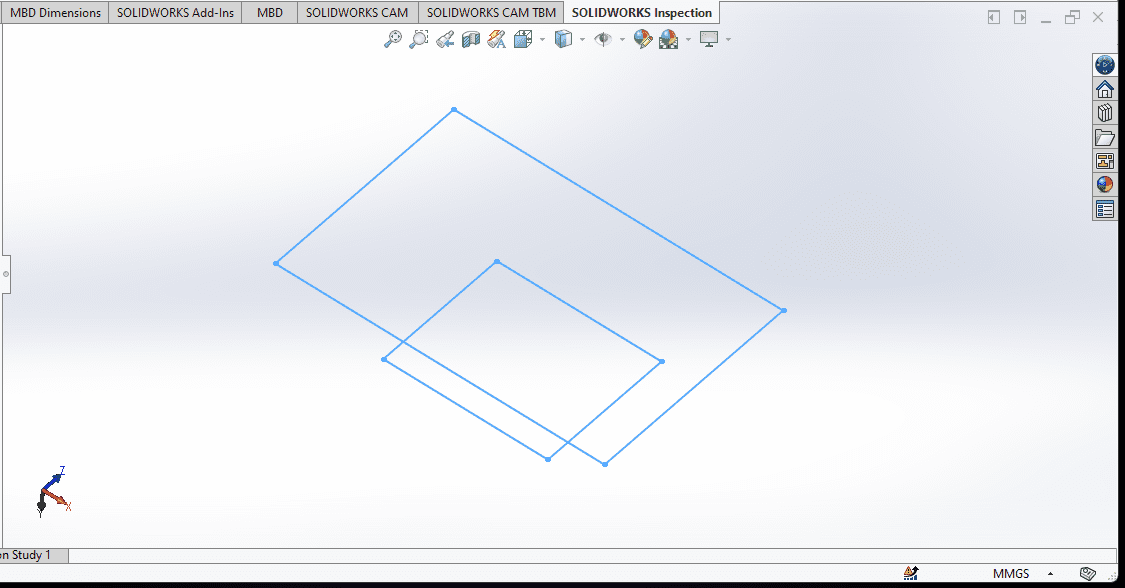
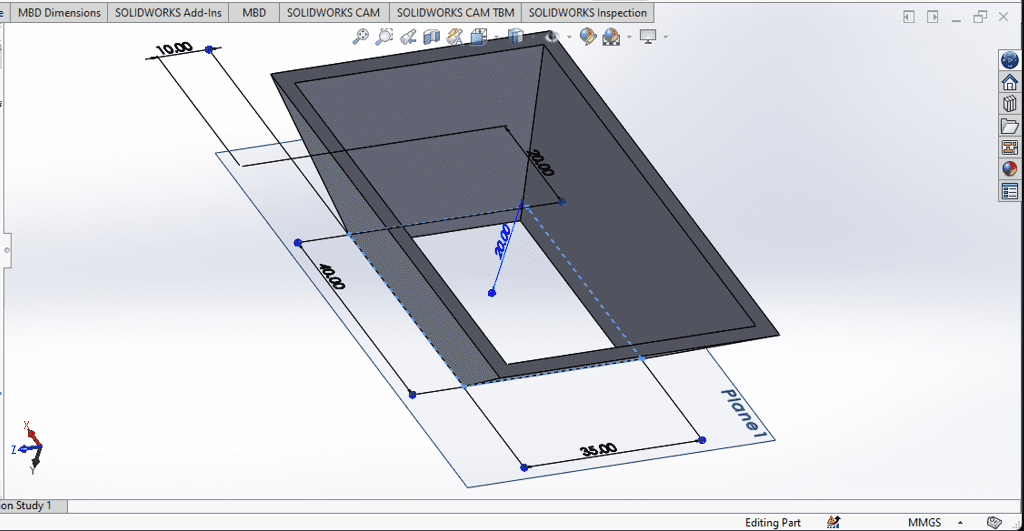
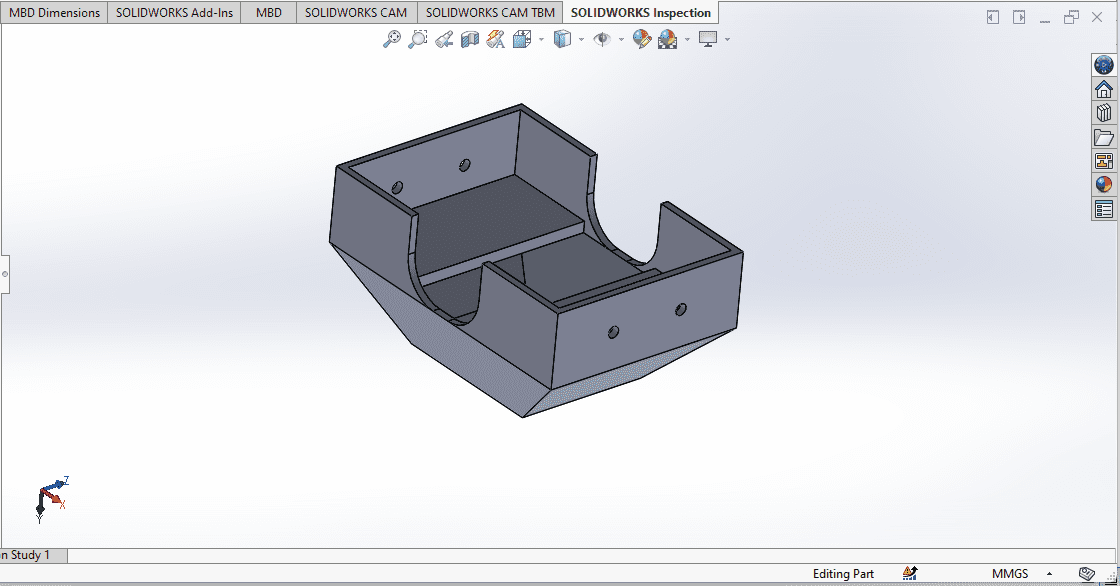
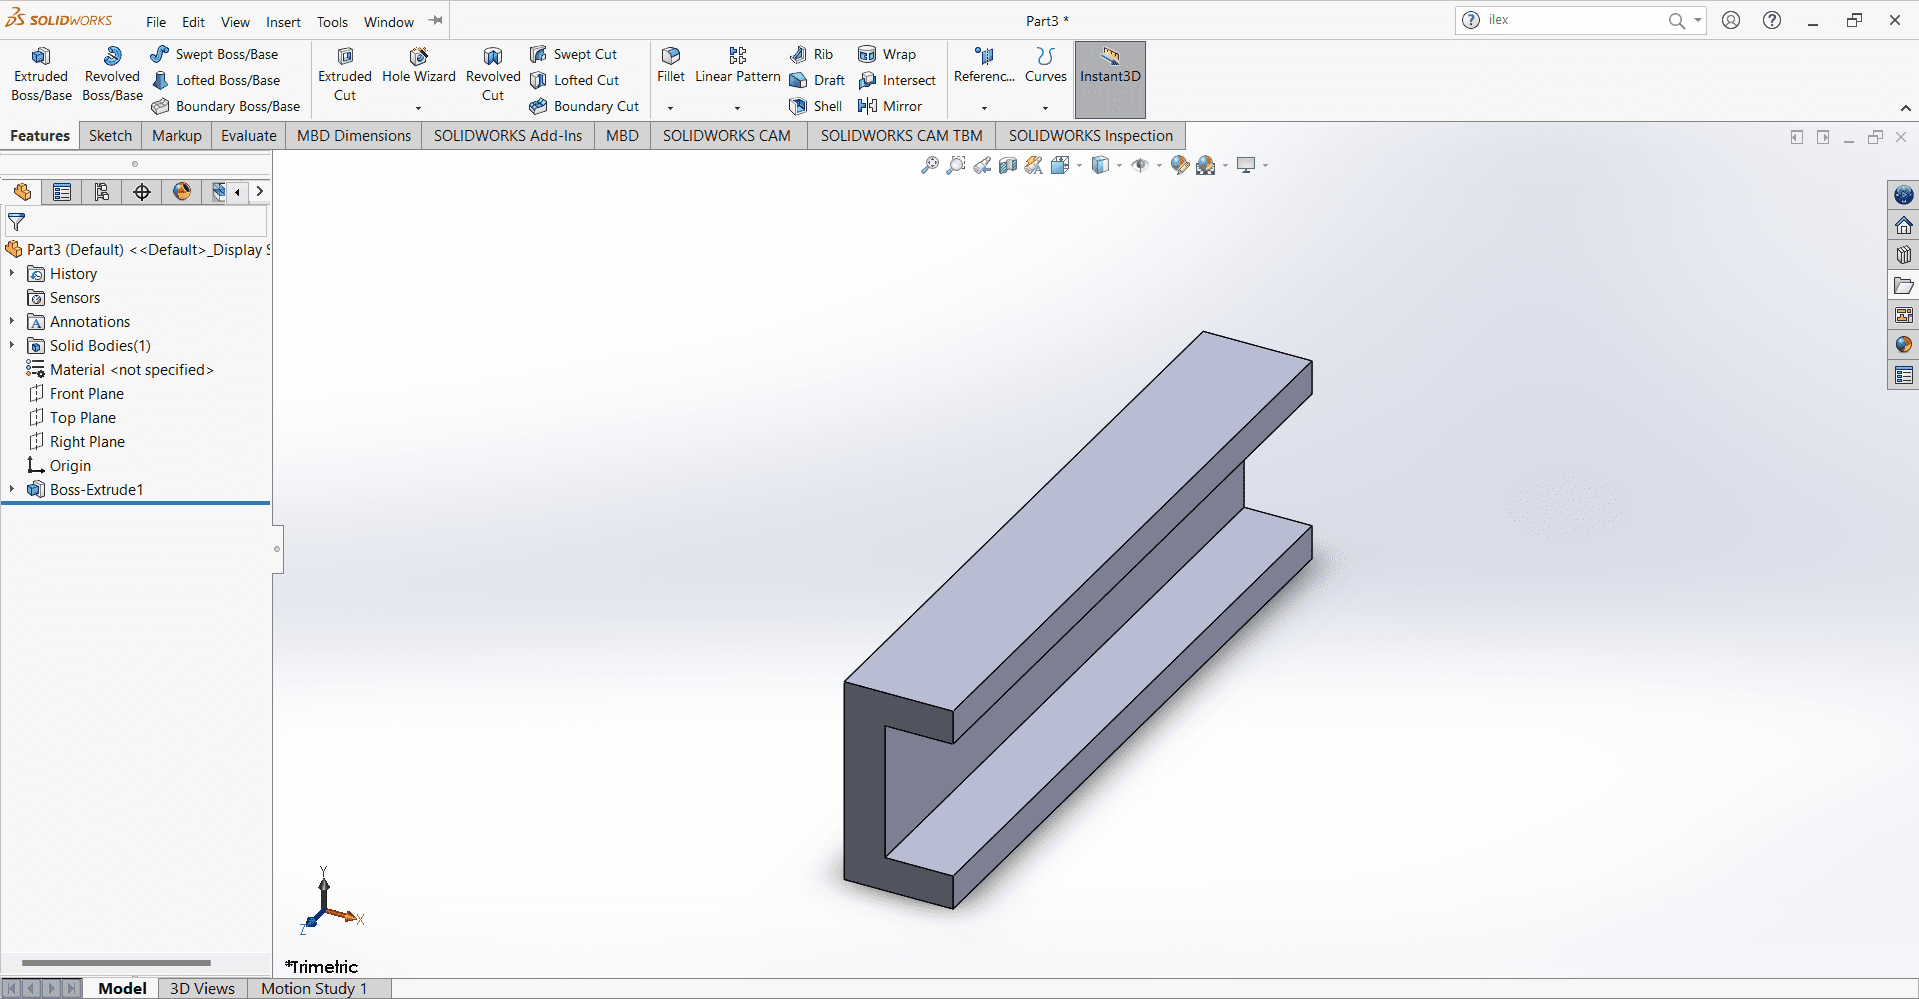
After that I designed the trolly of Jhula ( swing) . To designed this I firstly created a rectangle then take another plane and make another rectangle. Then I used loft commond to join this and making a solid. After that I choose same plane and make another rectangle but this time I used Lofted cut command and cut its internal area according to the wall thickiness of 2mm.
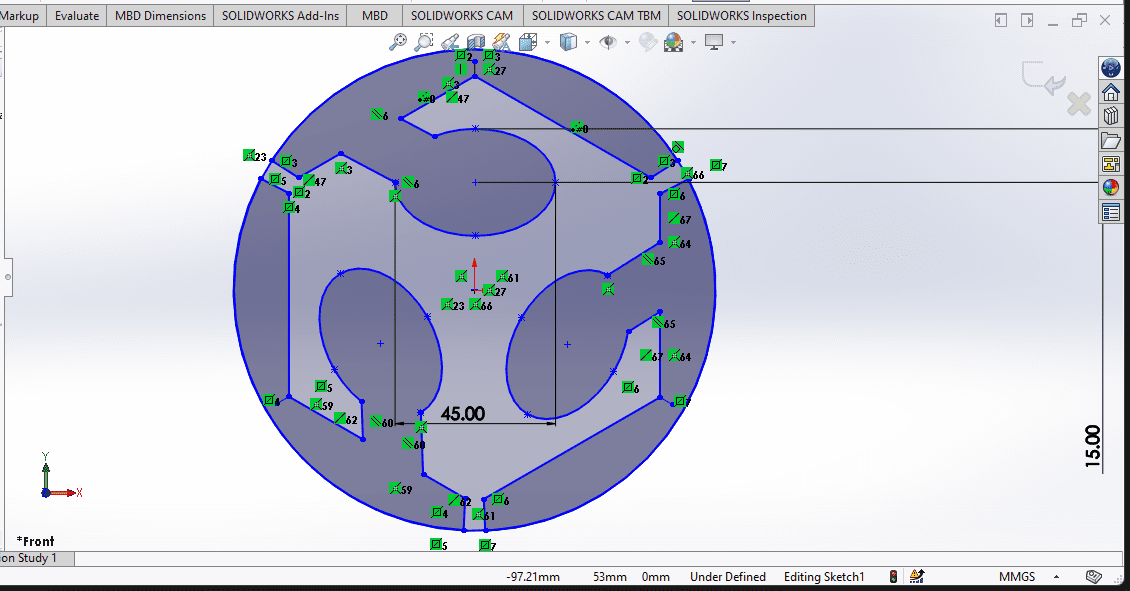
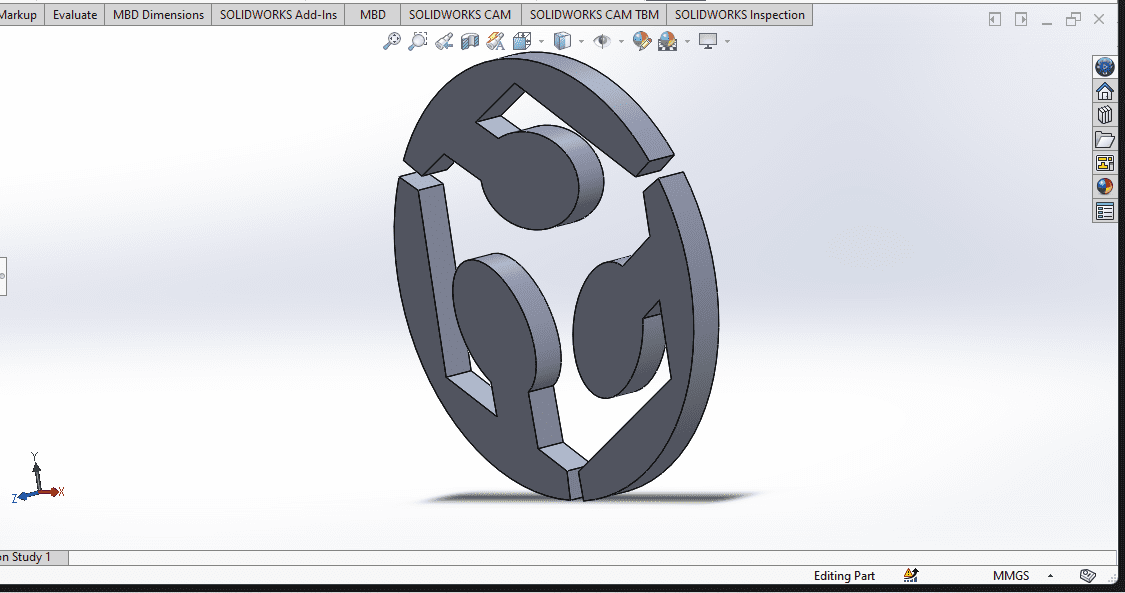
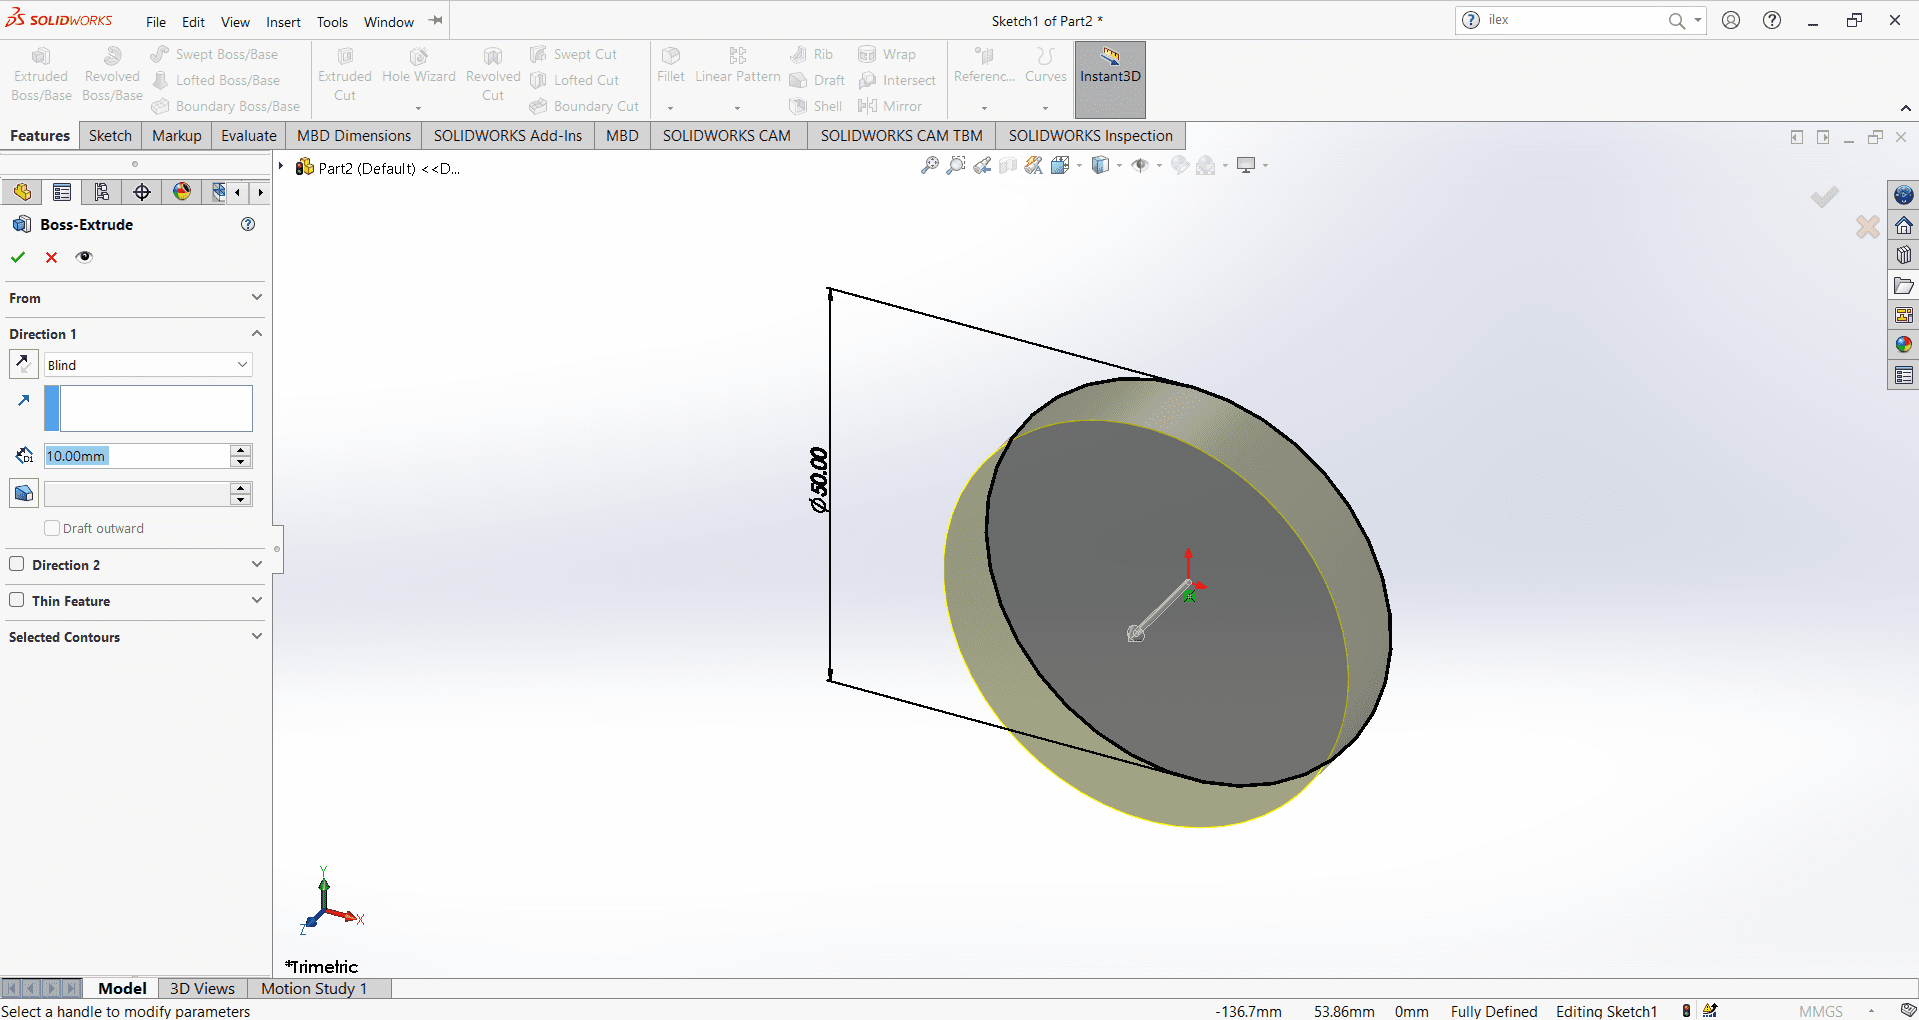
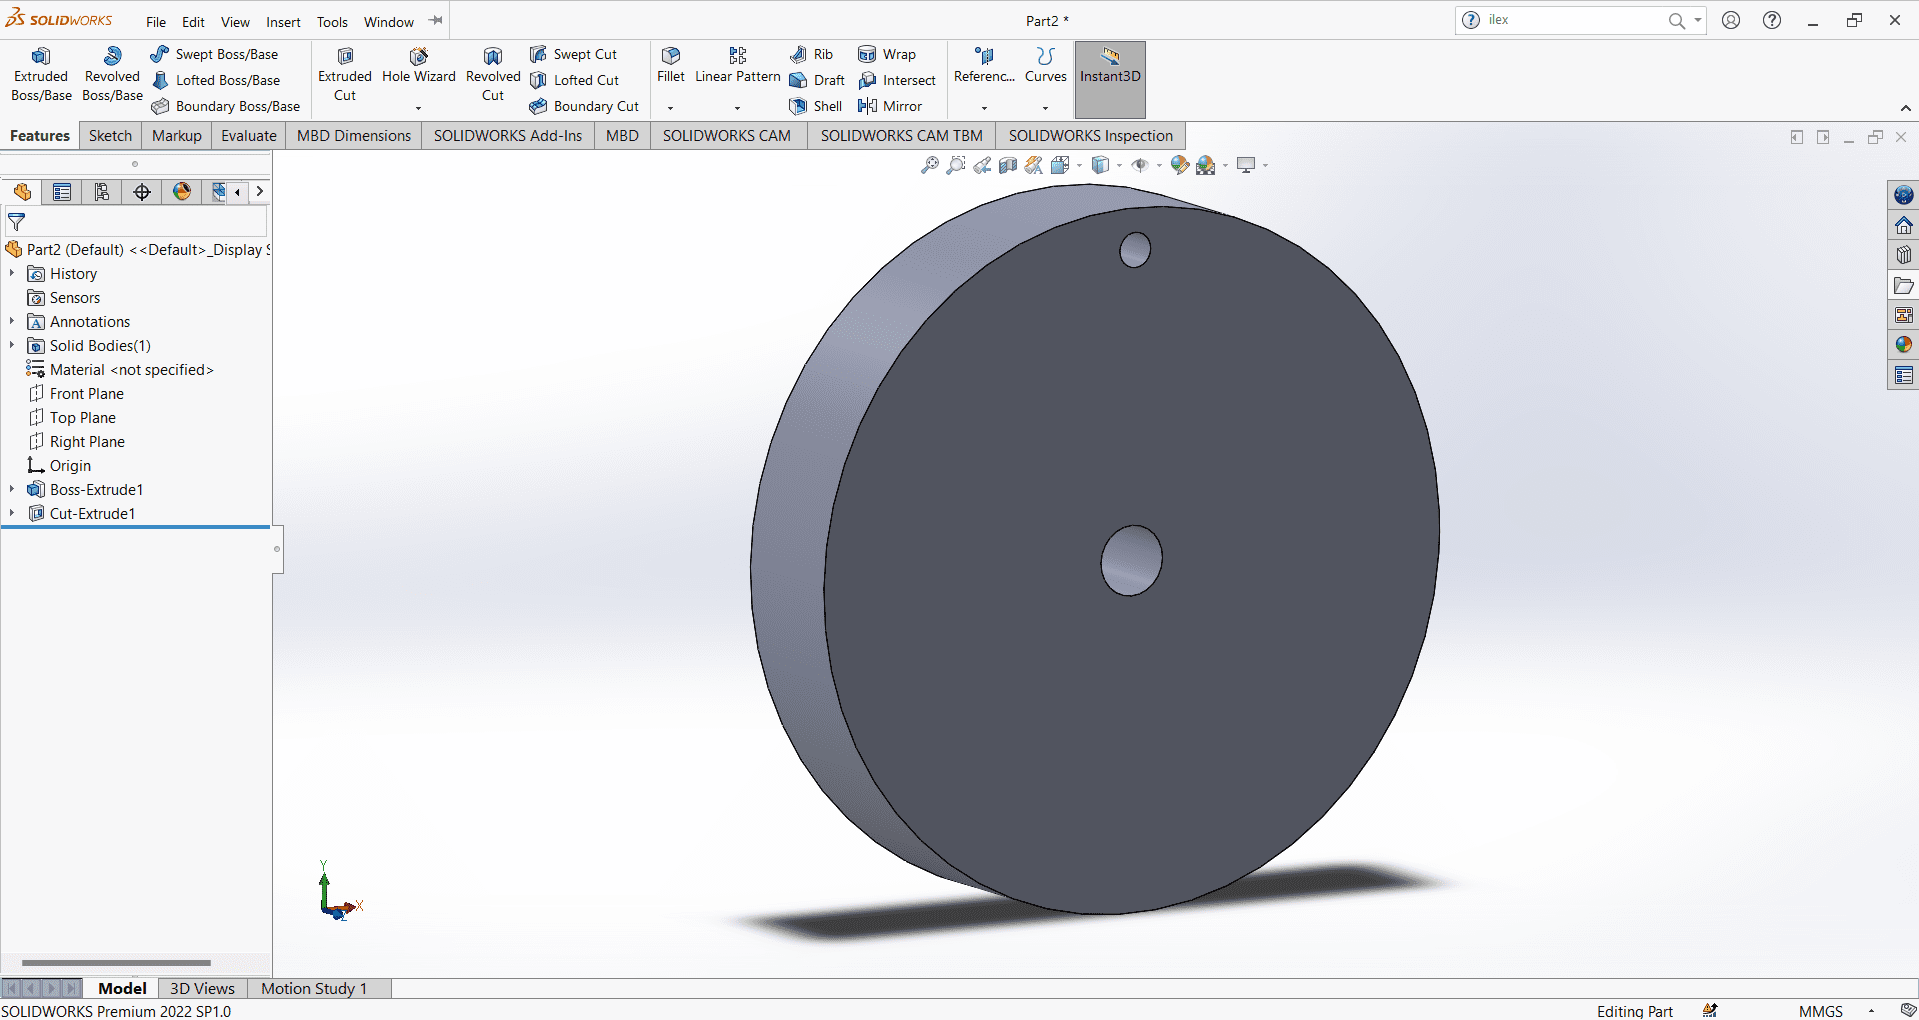
After designed this I tried some motion in Solidworks. In mechanical I learned about the link Mechanism so I tried slider link mechanism. for this I designed the wheel, two different type of pins , a slider etc.
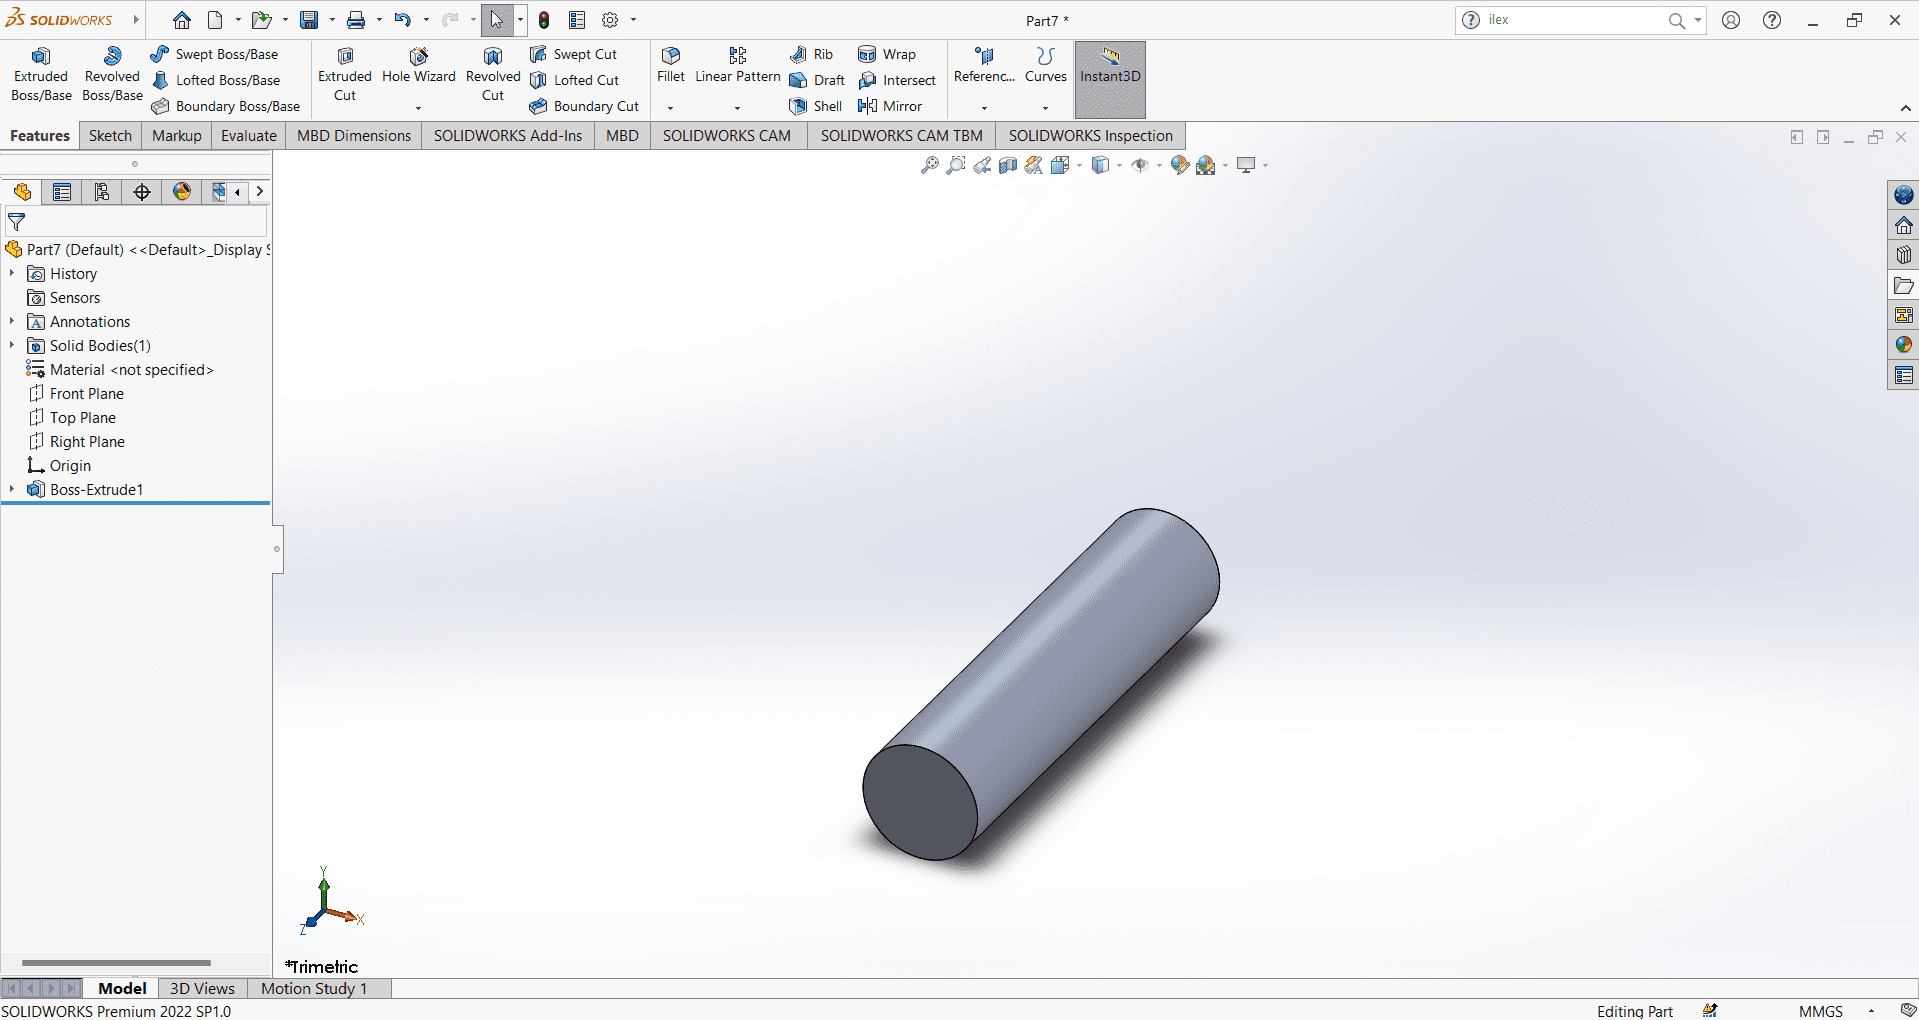
Design of wheel-
Design of Rack-
Design of Slider-
Design of connecting rod and pins-
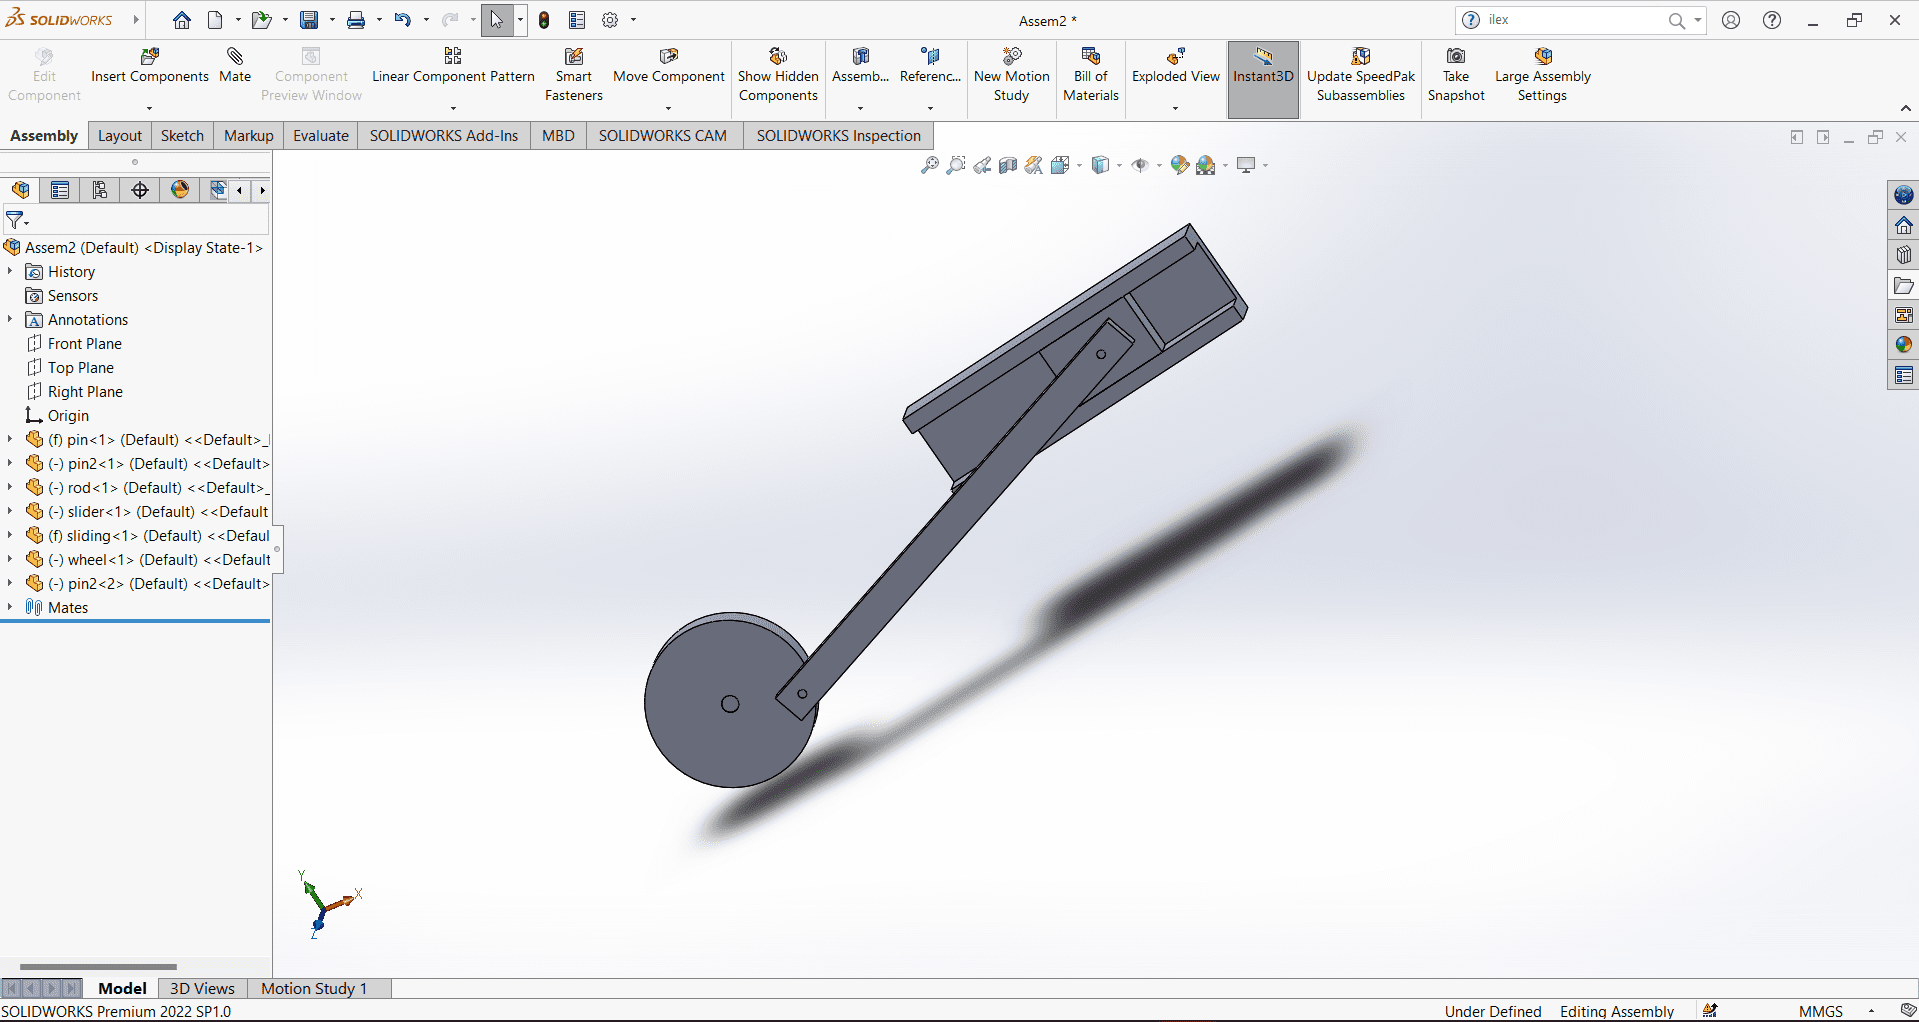
Then I create a new file and chose Assembly. In assembly you fix the component in one other by making intraction with them. After new file Created. We have to go insert component option and then select the parts . After selecting the parts we have to making relation between the parts.
After giving all the relation/mates, Then I gave motion in it. To give motion, I went to 3D modelling, selected the wheel and selected the motor, after that set the RPM of that motor. After that motor connected to that wheel and my design started working as animation
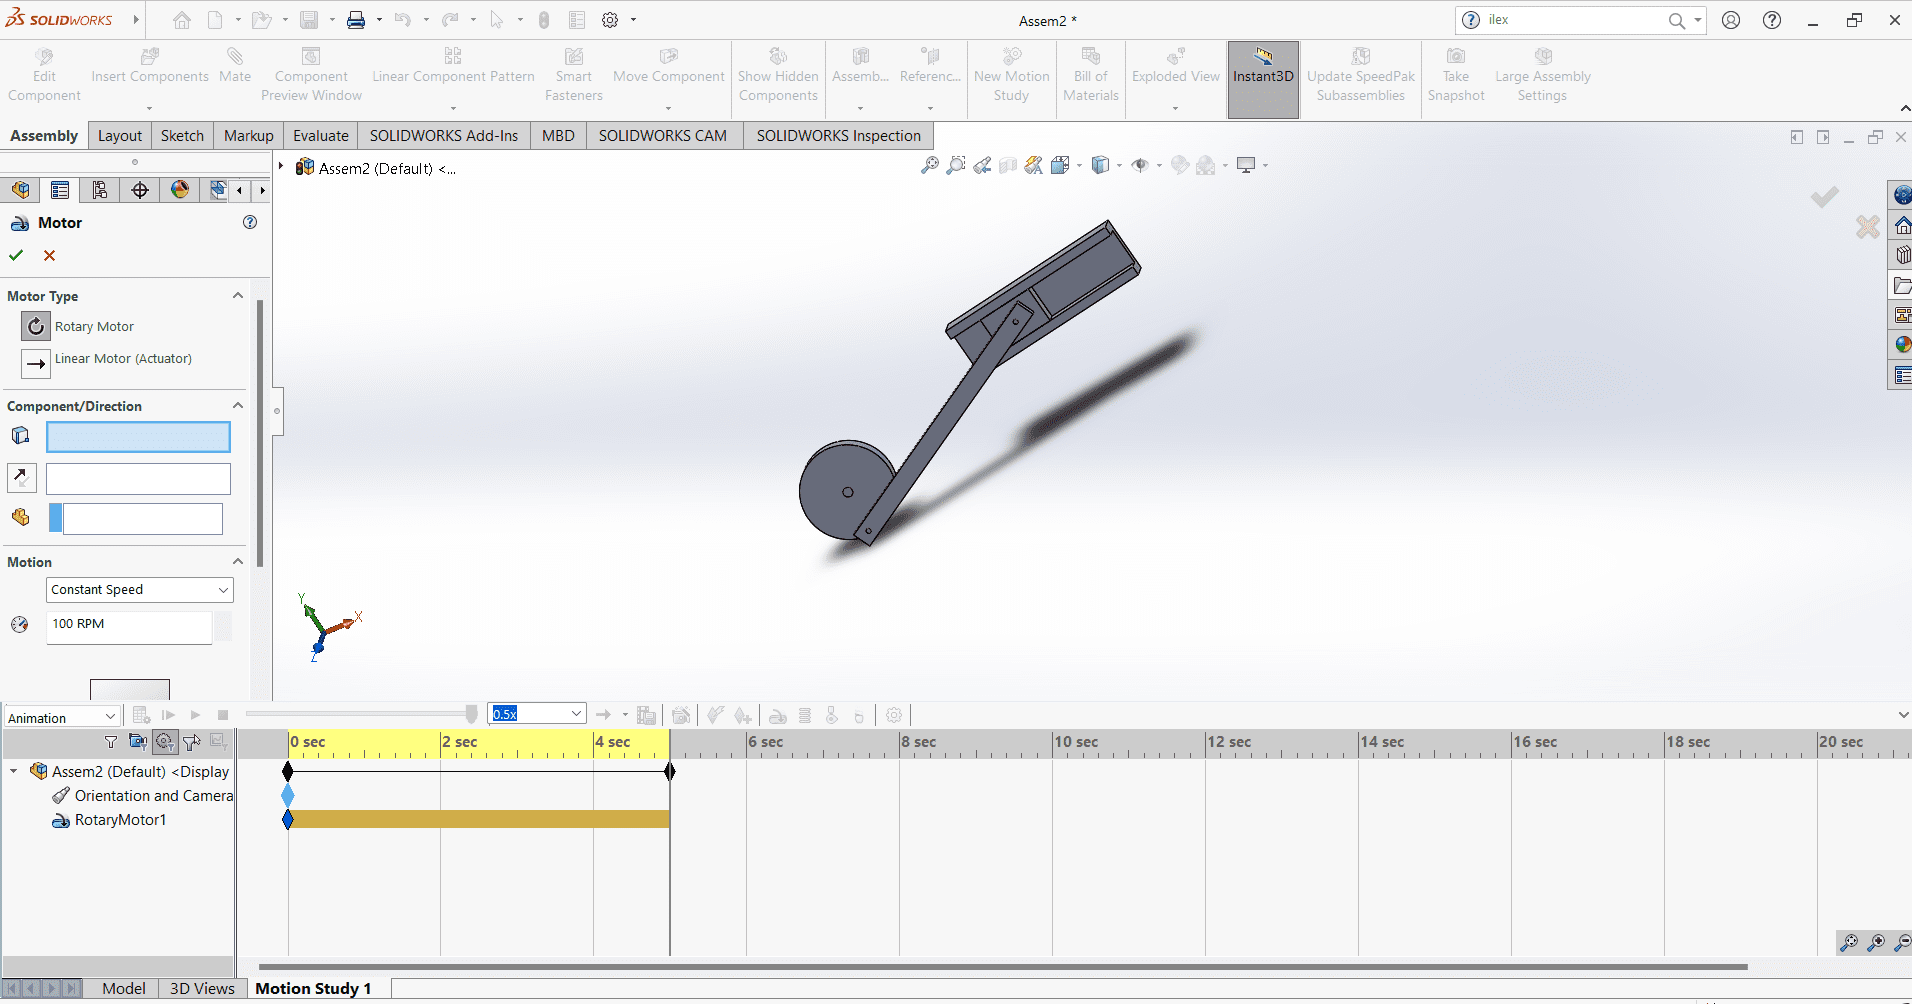
and save this animation video.
Click here to download the Solidwork Software.
Video Compression
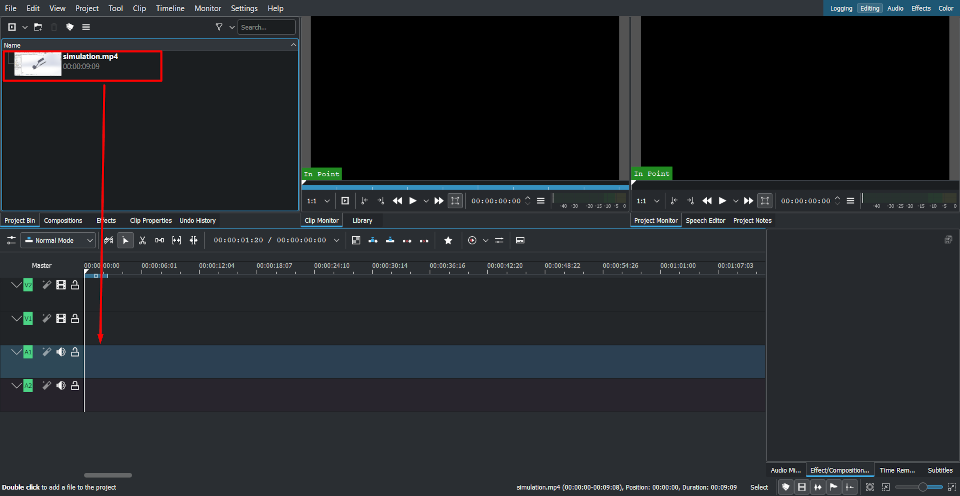
Now I want to compress my video. So for this I downloaded Kdnlive software. Its free and easily available on google.
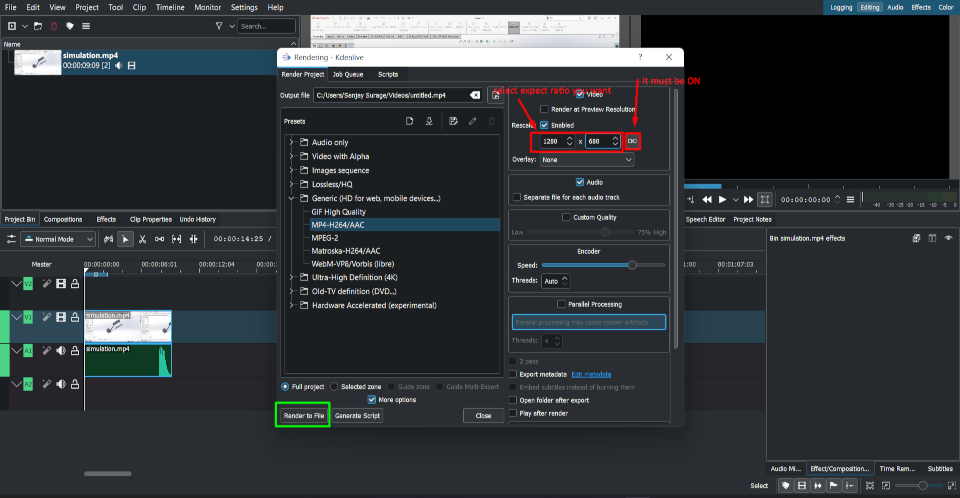
I open it and then paste or you can drag your video in it. Then I paste my video in Timeline and go to the project and select render option. Then a window open where we have have resize.
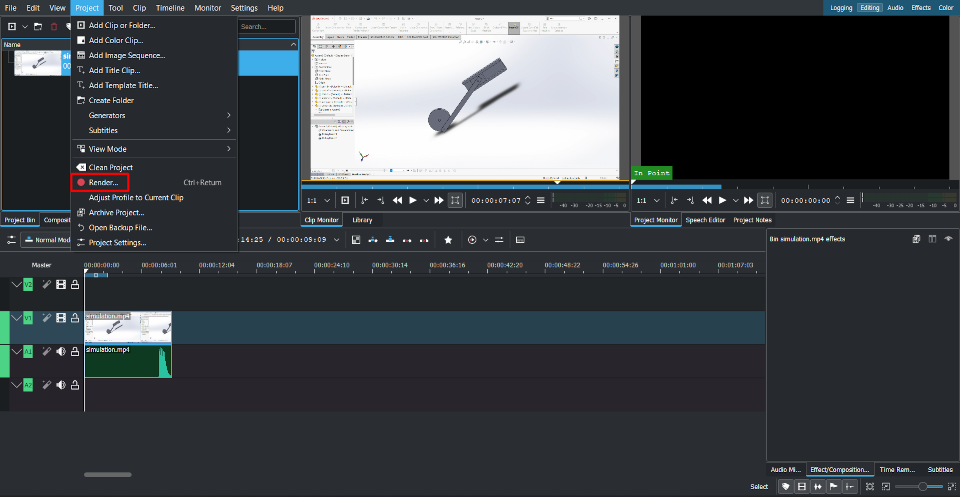
Then select proper aspect ration and then start rendering the video.
Click here to download Kdnlive software.
Result for the compressed Animation is shown below-
learning outcomes
-I learned about the raster and vector softwarer-I learned about the solidworks software and design some meachanism and assemble them.
-I learned about the simulation in solidworks and then compress the simulation video in kdnlive software.
Click here to download the design files.